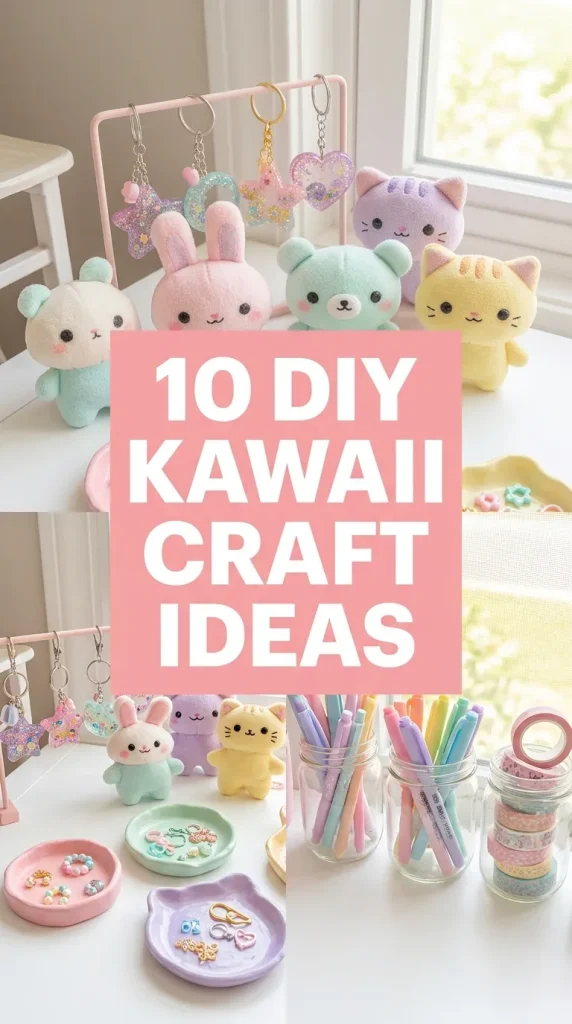
10 DIY Kawaii Craft Ideas

Spread the love

The essence of kawaii (the Japanese culture of cuteness) lies in turning everyday items into delightful, heart-warming creations through pastel palettes, expressive faces (kaoani), and simple rounded forms. Crafting kawaii items at home is a therapeutic, budget-friendly way to personalize your space, make unique gifts, or simply enjoy a creative afternoon.

Here are 10 original, practical DIY kawaii craft ideas spanning clay, paper, resin, and textiles—complete with step-by-step guides to help you make them.

Why You’ll Love These Crafts

  • Accessible Materials: Most of these projects use inexpensive supplies like air-dry clay, felt, paper, and glass jars.
  • Highly Customizable: You can mix and match pastel colors, animal ears, and facial expressions to suit your personal style.
  • Functional & Decorative: From keychains and planters to desk tidy jars and nightlights, these crafts serve a purpose while looking adorable.

The Essential Kawaii Crafter’s Toolkit

  • Basics: Craft glue, hot glue gun, precision scissors, ruler, and double-sided foam tape.
  • Clay & Molding: Air-dry clay or polymer clay, clay sculpting tools, and acrylic varnish/sealant.
  • Color & Detailing: Pastel acrylic paints, fine-tip black liner pens, white gel pens (for eye highlights), and pink blush/chalk pastels.
  • Fabrics & Embellishments: Pastel felt sheets, embroidery thread, jump rings, and glitter/beads.

Idea 1: Air-Dry Clay Cloud Ring Dishes

Step-by-Step Guide

Keep your rings, earrings, or small desk items safe in an adorable, puffy cloud dish.

  1. Roll out a lemon-sized ball of white air-dry clay into a 1/4-inch thick flat sheet using a rolling pin or smooth glass bottle.
  2. Use a clay knife or craft blade to cut out a fluffy cloud outline with soft, rounded edges.
  3. Gently pinch and smooth the outer edges upward to form a shallow rim around the dish.
  4. Smooth out any cracks using a finger dipped in a tiny drop of water. Let dry completely for 24 hours.
  5. Kawaii Detailing: Use black acrylic paint or a fine-tip pen to draw closed sleeping eyes and a small ‘v’ mouth in the center. Use pink chalk pastel or paint to smudge soft blush circles on the cheeks.
  6. Seal with two coats of gloss varnish to protect the clay and give it a shiny ceramic look.

Idea 2: Felt Boba Milk Tea Keychains

Assembly Method

A plush, squishy keychain shaped like a cup of iced boba tea, complete with a straw and smiling face.

  1. Cut two cup-shaped pieces out of beige or pastel pink felt (about 3 inches tall). Cut a small brown felt strip for the tea base and a white strip for the whipped cream top.
  2. Cut tiny black felt circles for the “boba pearls” and glue them onto the bottom of the front cup piece using fabric glue.
  3. Embroider or draw two round black eyes and a small curved smile above the boba pearls.
  4. Place the two cup pieces together and stitch along the edges using a simple blanket stitch, leaving a 1-inch opening at the top.
  5. Stuff the plushie tightly with fiberfill stuffing, insert a folded ribbon loop with a keychain ring into the top seam, and stitch the top closed.

Idea 3: Pastel Recycled Jar Animal Planters

How to Make

Upcycle empty glass jam or sauce jars into cute pastel succulent planters with animal ears.

  1. Thoroughly clean an empty glass jar and remove all label adhesive.
  2. Paint the outside of the jar with two coats of pastel acrylic paint (pink, mint, or lavender) mixed with a drop of baking soda for an opaque, matte ceramic-like finish.
  3. Cut out two small rabbit, bear, or cat ears from thick foam sheets or cardstock matching your paint color.
  4. Glue the ears to the inner rim of the jar opening using hot glue.
  5. Draw big, low-set eyes and a cute nose on the front using black and white paint pens.
  6. Add a layer of small pebbles at the bottom for drainage, fill with potting soil, and plant a small succulent or cactus!

Idea 4: Miniature Resin Star Milk Cartons

Execution Process

Cast tiny, crystal-clear 3D resin milk cartons filled with floating star glitter to use as desk decor or bag charms.

  1. Prepare a small amount of 2-part epoxy resin or UV resin according to package instructions.
  2. Mix in iridescent pastel glitter and tiny star sequin flakes.
  3. Pour the resin mixture into a flexible silicone mini milk carton mold.
  4. If using UV resin, cure under a UV lamp for 2–3 minutes; if using epoxy resin, let cure undisturbed for 24 hours.
  5. Demold the resin carton. Use acrylic paint pens to draw a smiling strawberry or cow face on the front panel, and top with a clear gloss sealer.

Idea 5: Polymer Clay Bunny Toast Hair Clips

Step-by-Step Guide

Combine bakery sweets with cute animals by crafting wearable bunny-shaped toast hair accessories.

  1. Condition light tan polymer clay and roll it out into a 1/8-inch sheet.
  2. Cut out a toast slice shape, shaping the top two crust lobes into pointed bunny ears.
  3. Shade the outer edges with a dry brush dipped in soft brown pastel dust to mimic baked bread crust.
  4. Add a tiny square of pale yellow clay to the center to look like a melting pat of butter.
  5. Bake in a dedicated craft oven according to your clay’s package instructions and let cool completely.
  6. Paint a cute face onto the toast using fine acrylics. Secure an alligator hair clip to the back using industrial E6000 glue.

Idea 6: Origami Kusudama Paper Flower Pens

How to Create

Transform boring ballpoint pens into colorful, blooming bouquets using classic Japanese paper folding.

  1. Cut pastel square paper into twenty-five 2×2-inch squares (five squares per flower head).
  2. Fold each square into a traditional Kusudama petal shape (folding triangles and tucking corners), gluing the petal folds closed.
  3. Glue five petals together in a circle to form a complete 3D flower blossom. Repeat to make five flowers.
  4. Wrap a plain ballpoint pen shaft in green floral tape or decorative pastel washitape.
  5. Glue the flowers around the top cap of the pen, adding tiny yellow pom-poms or pearls to the center of each flower.

Idea 7: Upcycled Sock Bear Desk Cushion

Setup Method

Turn a spare or mismatched pastel fluffy sock into a soft, squishy desk wrist rest or phone holder.

  1. Take a clean, fluffy pastel crew sock and cut off the toe section (about 5 inches long).
  2. Turn the sock section inside out, tie or stitch the cut edge tightly closed, and flip it right side out again.
  3. Fill the sock pouch with rice (for a weighted wrist rest) or fiberfill stuffing (for a plushie).
  4. Hand-stitch the open toe seam closed using a ladder stitch.
  5. Cut two small circles from the remaining sock cuff to sew on top as bear ears.
  6. Hand-embroider a simple snout, eyes, and mouth on the front using dark brown embroidery floss.

Idea 8: Floating Glitter Magic Potion Bottles

Execution Process

Create mesmerizing, sensory potion jars that swirl with pastel glitter and star confetti when shaken.

  1. Source a small decorative glass bottle with a cork stopper.
  2. Fill the bottle 3/4 full with a mix of 1 part clear liquid glue and 2 parts warm water (this slows down the glitter movement).
  3. Add a drop of pastel food coloring or liquid watercolor, followed by fine pastel glitter, holographic star sequins, and tiny plastic pearls.
  4. Top off the bottle with water, leaving a small air bubble at the top for movement.
  5. Apply hot glue or E6000 adhesive around the cork stopper and press it firmly into the bottle neck to seal it permanently.
  6. Tie a pastel satin ribbon around the bottle neck with a tiny bell or charm.

Idea 9: Kawaii Toadstool Mushroom Nightlight

Assembly Method

A whimsical fairy-tale nightlight made from a battery-operated tea light, clay, and a glass dome jar.

  1. Take a flat battery-operated LED tea light base.
  2. Use red and white air-dry clay to build a cute mushroom cap directly over the flickering flame bulb, poking tiny pinholes in the red cap so light shines through.
  3. Sculpt a tiny smiling face on the mushroom stem.
  4. Glue artificial moss and small clay flowers around the base of the tea light.
  5. Cover the creation with a miniature glass cloche dome or inverted tiny mason jar to complete a magical bed-side nightlight.

Idea 10: Miniature Wooden Clothespeg Magnet Clips

How to Style

Brighten up your fridge or magnetic memo board by turning simple wooden clothespegs into smiling food characters.

  1. Paint mini wooden clothespegs using pastel acrylic paints (mint green, pink, cream, lavender).
  2. Cut out tiny cardstock shapes of popular food items—such as ice cream cones, avocado halves, or boba cups.
  3. Draw cute kaoani faces on the food cutouts using a 005 fine liner pen and white gel pen for eye shines.
  4. Glue the cardstock food characters to the front flat side of the clothespegs using craft glue.
  5. Attach a small neodymium magnet disc to the back of each clothespeg using hot glue.

Similar Posts

  • 10 Decoration Gender Reveal

    Spread the love

    Spread the loveA gender reveal is one of the most exciting moments for expecting parents and their loved ones. It is the celebration where curiosity meets joy, and a simple reveal turns into a lifelong memory. Decorations play a powerful role in setting the mood, creating anticipation, and making the reveal moment picture perfect for…

  • 10 Garage Organization Ideas

    Spread the love

    Spread the loveA cluttered garage can quickly become a chaotic space filled with forgotten tools, seasonal decor, and piles of boxes. Transforming this area into an organized and functional part of your home can make daily life smoother and add value to your property. Whether you use your garage for storage, hobbies, or as a…

  • 10 Right Backyard Fence Ideas

    Spread the love

    Spread the loveA backyard fence is more than just a boundary marker. It defines your outdoor space, adds character to your home, provides privacy, and can even improve property value. Whether you are aiming for modern minimalism, rustic charm, or traditional elegance, choosing the right backyard fence design can transform your outdoor area into a…

  • 10 Kids Playroom Organization

    Spread the love

    Spread the loveCreating a functional, organized, and inspiring playroom for kids can make your home feel calmer, cleaner, and more joyful. A well-organized playroom not only makes cleanup time easier but also encourages creativity and independence. Whether you have a spacious playroom or a small corner dedicated to play, the right organization strategies can make…

  • 10 Bathroom Decor Ideas Theme

    Spread the love

    Spread the loveWhen it comes to home design, the bathroom often becomes an afterthought. However, this small space can make a huge difference in setting the tone of your home. A well-decorated bathroom can feel like a private retreat, adding both comfort and elegance to your daily routine. Whether you love a clean modern vibe,…

Leave a Reply

Your email address will not be published. Required fields are marked *