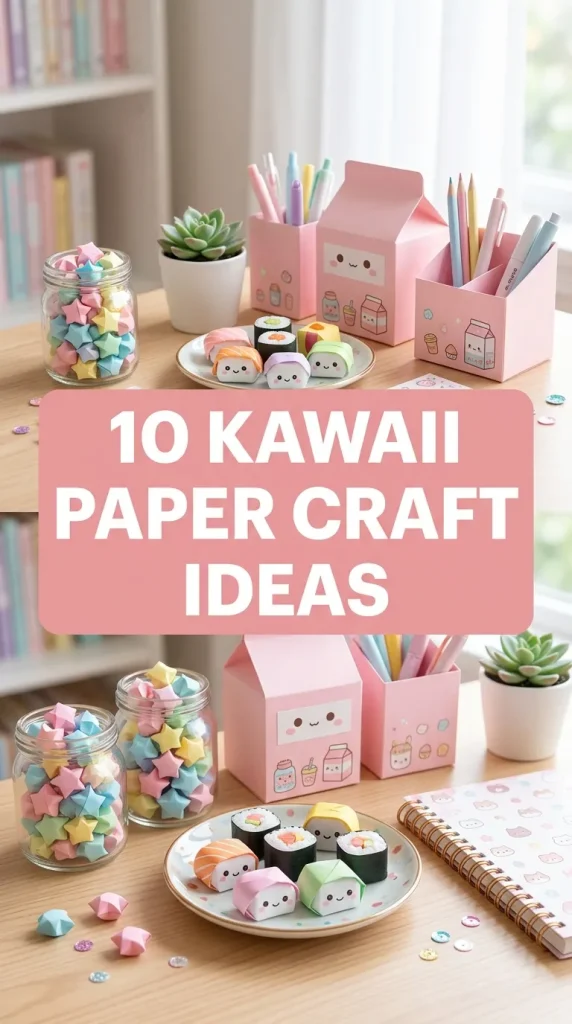
10 Kawaii Paper Craft Ideas

The art of kawaii (the Japanese culture of cuteness) transforms simple, everyday paper into delightful, heart-warming creations. Paper crafting is the ultimate budget-friendly, accessible medium: it requires minimal tools while offering endless versatility through pastel color palettes, soft rounded shapes, and expressive facial detailing (kaoani).
Here are 10 original, highly creative kawaii paper craft ideas complete with step-by-step guides, ideal for decorating your study space, journaling, or making charming gifts for friends.
Why You’ll Love These Paper Crafts
- Inexpensive & Accessible: All you need is standard paper, cardstock, scissors, and a glue stick.
- Instant Gratification: Most of these projects can be completed in under 20 minutes.
- Functional & Decorative: From bookmark wrappers and memo dispensers to 3D gift boxes and wall art, these crafts combine high utility with pure cuteness.
The Essential Paper Crafter’s Toolkit
- Paper Supplies: Pastel origami paper (6×6 inch), heavyweight cardstock (60lb–80lb), printed pattern paper, and clear self-adhesive laminating sheets.
- Cutting & Creasing: Precision craft scissors, a metal ruler, a craft knife, a cutting mat, and a bone folder (or butter knife for crisp creases).
- Adhesives: Non-wrinkling glue sticks, clear double-sided tape, and 3D foam tape dots.
- Detailing Tools: Fine-liner black pens (0.3mm–0.5mm), white gel pens (for eye shines), pastel highlighters, and pink chalk pastels or blush pencils.
Idea 1: Origami Bunny Corner Bookmarks
Step-by-Step Guide
Corner bookmarks slip neatly over the corner of any page without falling out or damaging the book.

- Start with a square piece of pastel pink or cream origami paper (6×6 inches) placed like a diamond.
- Fold the bottom corner up to meet the top corner, forming a triangle.
- Fold the left and right outer corners of the triangle up to meet the top point, forming a diamond. Crease sharply, then unfold back into a triangle.
- Fold the top single layer of the apex point down to meet the center of the bottom edge, creating a small pocket.
- Tuck the left and right flap corners into the pocket you just formed to lock the square base.
- Kawaii Detailing: Cut two long oval bunny ears from matching paper and glue them inside the pocket so they stick up top. Use a fine-liner pen to draw sleeping eyes and a small ‘W’ nose, adding pink chalk blush to the cheeks.
Idea 2: Mini Pastel Milk Carton Gift Boxes
Assembly Method
These sturdy 3D cardstock boxes look like tiny strawberry or banana milk cartons, perfect for storing desk supplies or gifting sweets.

- Cut a sheet of heavy white cardstock to 8.5 x 11 inches.
- Score four vertical column lines spaced 2 inches apart (leaving a 0.5-inch gluing tab at the end).
- Score horizontal lines across to divide the carton into a bottom base, main body, creased top roof fold, and top sealing tab.
- Draw cute pastel milk labels on the main body panels (e.g., a smiling strawberry or cow face) using fine-liners and pastel markers.
- Fold along all score lines, apply double-sided tape to the side tab, and seal the box into a 3D rectangular tube.
- Fold in the bottom flaps and glue them flat. Pinch the top side panels inward to form the classic milk carton roof, securing the top ridge with a mini wooden clothespin.
Idea 3: Milk Box Mini Sticky Note Dispensers
How to Make

A compact, pop-up dispenser that feeds colorful sticky page flags through a smiling character’s mouth.
- Fold a small cardstock template into a 2×2-inch cube, leaving a thin horizontal slit cut across the front panel using a craft knife.
- Draw a cute panda or bear face around the slit, making the slit look like an open, happy mouth.
- Take an accordion-style pad of mini sticky flags. Feed the first flag out through the front slit.
- Secure the sticky note pad inside the box using double-sided foam tape so it doesn’t shift when pulled.
- Close the box flaps. Pulling one flag out automatically pulls the edge of the next flag through the character’s mouth!
Idea 4: Sliding Matchbox Eraser Sleeve Covers
Execution Process
Standard erasers often get dirty or torn. A custom paper matchbox cover keeps them clean while adding personality.

- Wrap a 1-inch wide strip of cardstock snugly around your block eraser, folding around the four sides to form a tight sleeve loop.
- Glue the overlapping edge together with double-sided tape and slide the eraser out.
- Cut two small cat or bear ear shapes out of matching cardstock and attach them to the top edge of the sleeve.
- Draw a cute kaoani face (big round eyes placed low, small mouth) on the front of the sleeve.
- Slide your eraser back into its new protective sleeve.
Idea 5: Layered Boba Tea Pocket Dividers
Setup Method
Bring your planner or notebook to life with translucent pocket dividers shaped like iced boba tea cups.

- Cut heavyweight clear plastic (or laminating sheets) and pastel cardstock into standard planner page size.
- Trace and cut a wide cup outline on cardstock, cutting out the center to leave a frame.
- Tape a clear plastic window behind the frame to create a sealed pocket.
- Use a hole punch on dark brown paper to create round “boba pearls” and drop them inside the pocket along with colorful paper confetti.
- Punch standard binder holes along the side margin, draw a smiling boba cup face with a permanent marker, and top with a paper straw cutout.
Idea 6: Kawaii Cat Paw Paper Clips
How to Create
Transform basic metal paper clips into adorable page markers using layered cardstock cutouts.

- Trace and cut small cat paw outlines (about 1 inch wide) from soft pink and white cardstock.
- Cut four tiny pink toe bean ovals and one large main pad heart, gluing them onto the white paw base.
- Sandwich the top loop of a colorful paper clip between two paw cutouts using strong liquid craft glue.
- Press firmly and allow to dry for 10 minutes. When clipped to a textbook or notebook page, the cat paw sits cutely on top!
Idea 7: Accordion-Fold Floating Desk Drawers
Assembly Method
A modular, multi-drawer desk organizer made entirely from folded cardstock to store paper clips, binder clips, and erasers.

- Take three square sheets of 8×8-inch heavy cardstock.
- Fold each sheet using traditional origami box techniques (folding corners to center and scoring side walls) to create three open rectangular drawers.
- Create an outer sleeve box for each drawer out of slightly larger cardstock sheets.
- Glue the three outer sleeves vertically on top of one another to build a 3-tier mini dresser.
- Attach a small paper bead or folded paper bow to the front of each inner drawer as a pull handle, and draw pastel animal faces on each drawer front.
Idea 8: 3D Paper Cloud Desk Tidy
Setup Method
A soft, cloud-shaped paper desktop tray for storing sticky note pads, correction tape, and small stationery items.

- Trace a large, fluffy cloud outline onto a sheet of thick white poster board or cardstock and cut out two identical pieces.
- Cut a long 1.5-inch wide strip of cardstock to form the side wall rim.
- Score tiny tabs along the edge of the strip, fold them inward, and apply glue.
- Attach the side strip around the perimeter of the cloud base piece to create a 3D tray with raised edges.
- Draw closed eyelashes, rosy pink cheeks, and a small smile on the front cloud panel using markers, then pop your desk supplies inside.
Idea 9: Pull-Tab Secret Message Bookmarks
Step-by-Step Guide
Interactive bookmarks with a hidden pull-tab that reveals an encouraging quote or smiling character when pulled.

- Cut a base bookmark strip (2×6 inches) from thick cardstock.
- Cut a secondary sleeve panel to glue over the front, leaving a hollow channel inside.
- Slide an inner pull-tab strip through the channel, attaching a small paper character head (like a chick or bear) to the top of the tab.
- Cut a small window on the front panel. Write an encouraging study message (e.g., “You can do it!”) on the inner tab that aligns with the window only when the tab is pulled upward.
- Add a ribbon tassel to the top tab for easy pulling.
Idea 10: Layered 3D Paper Wall Shadow Boxes
How to Create
Create cute framed wall art using stacked, layered cardstock cutouts separated by foam tape dots to give a dimensional 3D effect.

- Select a theme (e.g., a sleeping bear under a star-filled night sky or a kitten sitting in a teacup).
- Cut 4 to 5 layers of cardstock to fit inside a small shadow box frame, trimming each layer slightly shorter than the last to build background depth.
- Background layer: Blue cardstock with drawn stars and a moon.
- Middle layer: Fluffy white paper clouds.
- Foreground layer: Cutout character sitting on a hill.
- Stack the layers on top of one another using double-sided 3D foam tape dots between each sheet to create physical space and dynamic shadows. Frame and display!