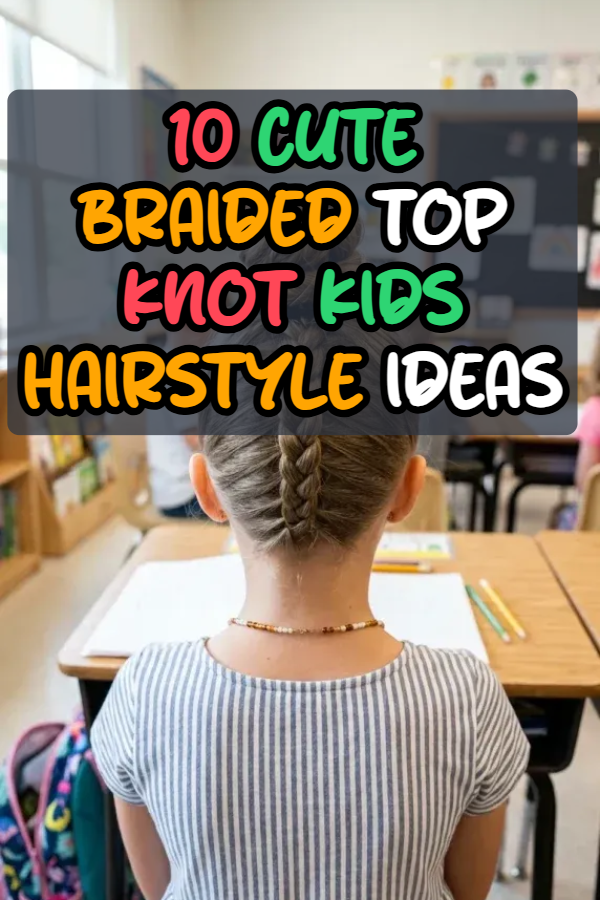
10 Cute Braided Top Knot Kids Hairstyle Ideas

Braided top knots combine playful charm, all-day security, and clean hair management for children. Whether getting ready for school mornings, dance rehearsals, sports games, or weekend family events, elevating hair into a secure high bun keeps flyaways off the face while protecting delicate strands from tangling throughout active play. Adding braided elements—such as wrap-around braids, Dutch base tracks, upside-down French braids, and colorful accent elastics—transforms a basic bun into an eye-catching, creative hairstyle. This guide covers ten cute, durable braided top knot hairstyle ideas for kids, complete with sectioning techniques, tension management tips, and accessory recommendations to keep styling quick, painless, and long-lasting.
1. Classic High Ponytail Braided Ballerina Top Knot
Styling Method

The classic high ponytail braided top knot is the go-to standard for school and sports because it is fast, secure, and tangle-free. Gather hair into a high ponytail at the crown using a snag-free elastic. Divide the ponytail into three equal sections and weave a standard three-strand plait all the way to the ends, securing with a clear mini elastic. Gently pancake the edges of the braid by tugging lightly on the outer loops to add soft volume. Coil the braided tail clockwise around the base of the ponytail, tucking the tail underneath, and secure with four to six bobby pins or a scrunchie.
2. Upside-Down French Braid into High Top Knot

Styling Method
The upside-down French braid is perfect for keeping the nape of the neck cool and secure during sports and gymnastics. Have the child lean forward or flip their head upside down. Detangle the hair thoroughly from nape to crown. Take a small section at the nape, divide into three strands, and weave an inverted French braid (crossing outer strands over the middle and adding small hair sections from the sides) moving upward toward the crown. Once you reach the top of the head, gather the remaining hair into a high ponytail, twist the ponytail into a neat top knot, and pin securely.
3. Double Dutch Crown Braids into a Centered Top Knot
Styling Method

This design creates a clean, symmetrical framework across the front hairline while feeding into a single high top knot. Part hair straight down the middle from the forehead to the crown. On each side, create a Dutch braid (crossing outer strands under the middle strand) starting at the front hairline and braiding along the temporal curve toward the top center. Secure both braids together at the crown with an elastic. Combine the braid tails, twist them into a textured cinnamon-roll bun, and pin in place.
4. Half-Up Braided Space Bun Top Knots
Styling Method

Half-up space bun top knots offer an adorable, trendy balance between an updo and letting natural waves or curls flow down the back. Create a horizontal part from ear to ear across the crown. Divide the top half into two equal left and right sections. Braid each section into a simple three-strand braid or rope twist, wrap each braid into a mini top knot on either side of the crown, and secure with colorful pastel mini scrunchies. Leave the bottom half brushed smooth or styled in natural curls.
5. Bubble Braid Base with Rolled Top Knot
Styling Method

Bubble braids add bouncy, playful texture to the front hairline before anchoring into a secure high bun. Section off two front rectangular strands along the temples. Place small colorful elastics down each strand at one-inch intervals, gently tugging the hair between elastics to form rounded “bubbles.” Pull both bubble braids back into the main high ponytail at the crown. Twist the ponytail into a top knot, letting the bubble segments frame the face with pops of color.
6. Fishtail Braided Donut Top Knot
Styling Method

A fishtail braid gives a high bun a textured, intricate look suited for picture days and formal occasions. Gather all hair into a sleek high ponytail at the crown. Divide the ponytail into two equal halves. Take a thin strand from the outside of the left half and cross it over to the inside of the right half, then take a thin strand from the outside of the right half and cross it to the left. Repeat down the entire tail, secure with an elastic, and pancake slightly. Wrap the wide fishtail braid around the base to create a flat, rose-like top knot, securing with decorative pearl-topped hair pins.
7. Criss-Cross Front Cornrows into a High Bun
Styling Method
Criss-cross cornrows provide a durable, long-lasting protective style that stays neat for several days. Part the front section of the head into four neat diamond or triangular quadrants. Braid each quadrant into a micro-cornrow, crossing the left and right braids over each other at the mid-crown in an ‘X’ pattern. Gather all braid ends and the back hair into a high top knot, wrapping the bun tightly and securing with a satin scrunchie or decorative hair cuff.

8. Four-Strand Ribbon-Woven Top Knot
Styling Method

Weaving a colorful satin ribbon directly into a four-strand braid adds vibrant contrast and festive charm for parties and holidays. Tie a long length of ribbon around the base of a high ponytail. Divide the hair into three strands, treating the ribbon as the fourth strand. Weave a flat four-strand braid down the ponytail length (over-under pattern with the ribbon staying centered). Coil the colorful ribbon-striped braid into a top knot; the ribbon accents create a festive spiral effect around the bun.
9. Waterfall Braided Headband into a Textured Top Knot

Styling Method
A waterfall braided headband sweeps across the forehead like a crown before anchoring into a messy-chic top knot. Start a three-strand braid above one ear, working horizontally across the front hairline. With each stitch, drop the bottom strand and pick up a new section from behind, letting the dropped strand fall seamlessly. Once you reach the opposite ear, gather all remaining hair—including the waterfall strands—into a high textured top knot at the crown. Pin loosely for a soft, fairy-tale finish.
10. Multi-Braid Spiral Donut Top Knot
Styling Method

Dividing a single ponytail into multiple smaller braids creates maximum surface texture and prevents bulky hair from slipping out of pins. Gather hair into a sleek, high ponytail. Divide the ponytail into three or four smaller individual sections, braiding each section into a tight three-strand braid. Wrap the braids around the base in alternating directions—wrapping the first braid clockwise, the second counter-clockwise, and so on—interlocking them into a dense, multi-textured rosette bun pinned flat to the crown.