Creating kandi bracelets and accessories is an enduring, vibrant tradition within music festival culture, rave fashion, and everyday creative crafting. Made primarily from plastic pony beads and elastic cord, kandi making is an accessible, budget-friendly, and expressive hobby suitable for all skill levels. Whether you are preparing for a festival season or looking for a fun DIY afternoon activity, these 10 easy kandi ideas provide practical inspiration and step-by-step methods to build your collection.
Why Kandi Crafting Is Popular and Useful
Kandi crafting offers a unique blend of personal self-expression, community connection, and hands-on creativity. The tradition of trading kandi—often guided by the ethos of Peace, Love, Unity, and Respect (PLUR)—makes these handmade accessories meaningful keepsakes from social events. Beyond their cultural significance, kandi projects are remarkably versatile: they require minimal physical tools, involve low material costs, and allow for infinite combinations of colors, patterns, and personalized words. Beginners appreciate kandi making because foundational techniques are simple to master, while the results are immediately wearable and shareable.
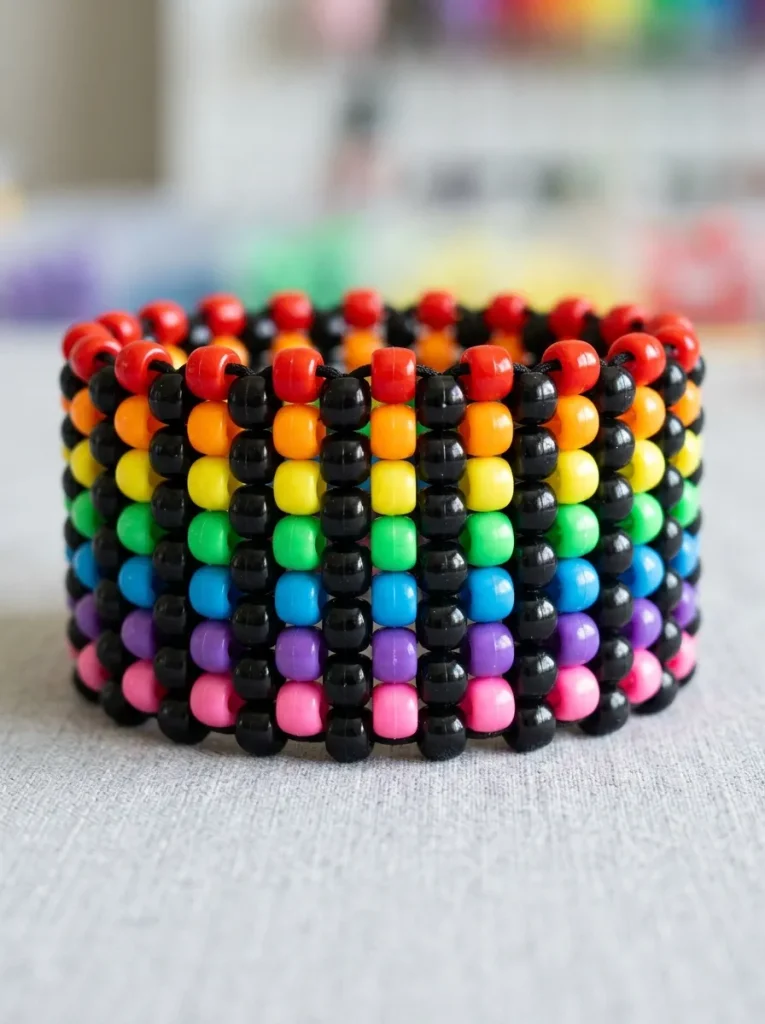
Materials and Preparation
Gathering the right supplies ensures your kandi creations are durable, comfortable, and easy to assemble:
- Pony Beads: Standard 6mm x 9mm plastic pony beads in assorted solid, neon, glitter, or translucent colors.
- Elastic Cord: 1mm fabric-covered elastic stretch cord (holds knots far more securely than slick clear plastic monofilament).
- Alphabet Beads: Flat disc or cube letter beads for personalizing names, song lyrics, or mantras.
- Scissors: Sharp craft scissors for clean cord cuts.
- Clear Glue or Nail Polish: A tiny drop applied to finished knots prevents unraveling over time.
- Optional Tools: A blunt yarn needle for multi-row weaving, and binder clips to keep beads from sliding off working cord ends.