
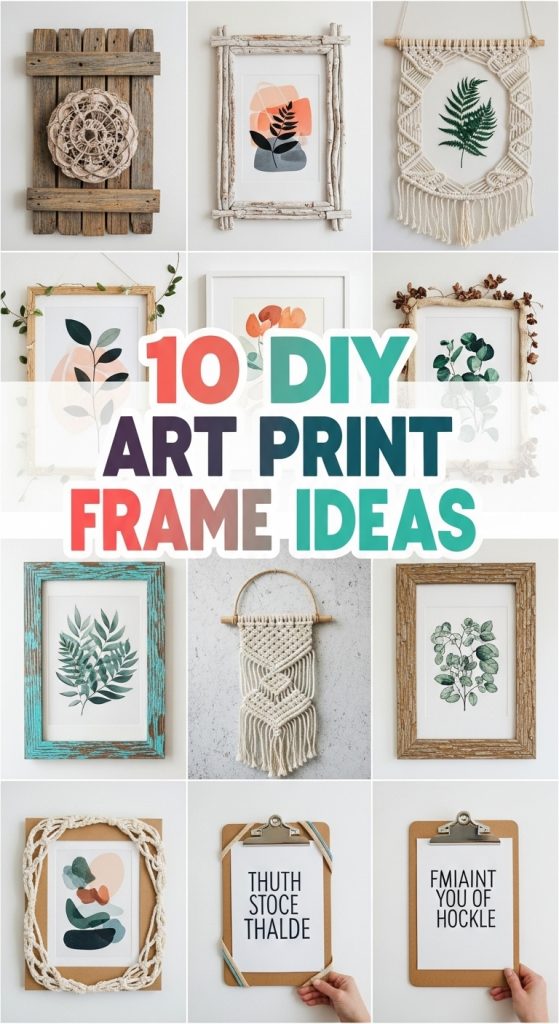
10 DIY Art Print Frame Ideas
Creating your own art print frames can completely transform your home decor. Whether you love modern minimalism, rustic farmhouse charm, or vintage-inspired elegance, making your own frame adds a personal touch that store-bought ones simply can’t match. In this post, we’ll explore ten creative DIY art print frame ideas that will inspire you to bring new life to your walls. Each idea is easy to customize, budget-friendly, and perfect for beginners or experienced crafters alike.
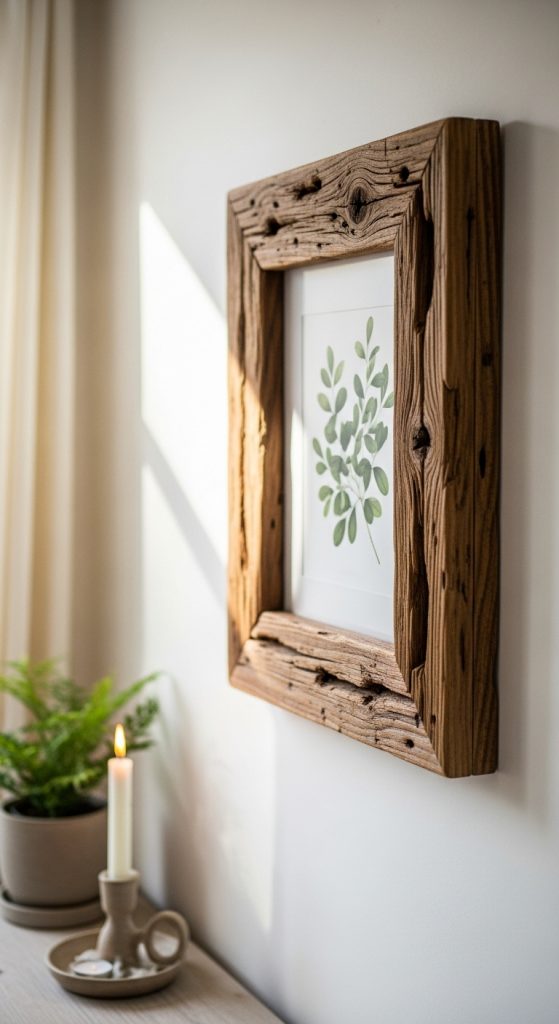
1. Rustic Wood Frame with Reclaimed Timber
If you love a cozy, farmhouse-inspired vibe, a rustic wood frame made from reclaimed timber is a perfect choice. Reclaimed wood has natural character—knots, cracks, and aged tones—that give your art a warm, vintage touch.
How to make it:
Find some old wood planks or pallets. Cut them to the desired size for your print. Sand the edges lightly but leave the natural imperfections intact for texture. Assemble the frame with nails or wood glue, then finish it with a clear sealant or matte varnish. The result is a charming, earthy look that pairs beautifully with botanical prints, landscape photos, or typography art.
Style tip:
Hang a group of these frames in a gallery wall arrangement for a cozy farmhouse display. Mix sizes and use twine or jute for a layered effect.
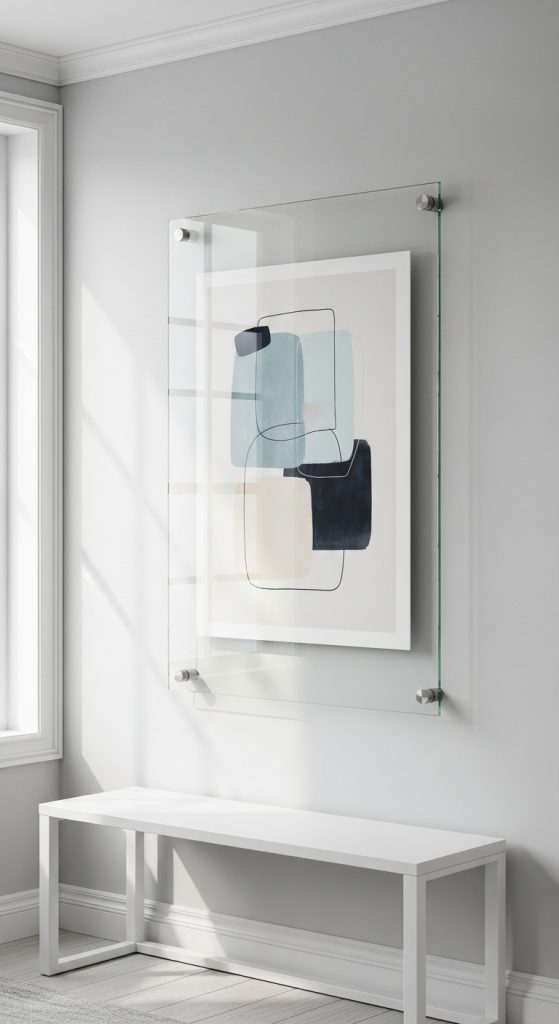
2. Floating Glass Frame
Floating frames give a sleek, modern aesthetic that lets the art speak for itself. The print appears to “float” between two panes of glass, adding elegance and visual interest.
How to make it:
Get two glass or acrylic sheets the same size. Sandwich your art print between them, making sure it’s centered. Secure the edges with metal clips, decorative tape, or even a wooden border. This style works especially well for minimalist prints, black-and-white photography, or abstract artwork.
Style tip:
Try using transparent command hooks to hang the frame for an airy, modern look. Place it in spaces with good natural light to enhance the floating illusion.
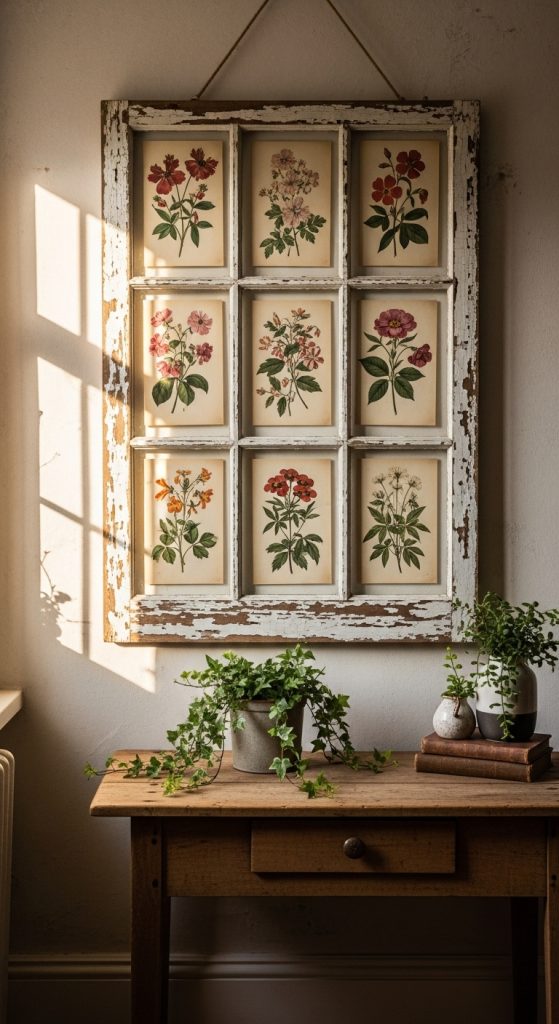
3. Vintage Window Frame Display
For a nostalgic and creative twist, repurpose an old window frame as an art display. This idea brings a rustic cottage charm and is ideal for vintage or floral-themed prints.
How to make it:
Find an old window with intact panes. Clean it thoroughly, keeping its original paint or distressing for authenticity. Remove any broken glass and replace it if necessary. Attach your prints behind each pane with double-sided tape or small clips. The divided sections of the window add visual balance and a unique framing style.
Style tip:
Hang the frame above a console table or sideboard. Pair it with greenery or candles for a warm, inviting look.
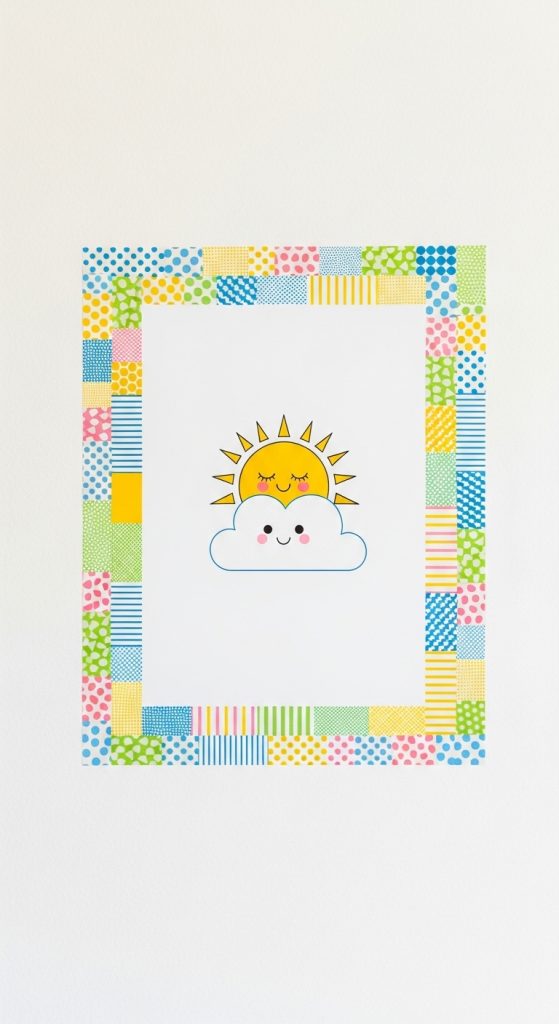
4. Washi Tape Frame
For a quick, colorful, and budget-friendly framing option, washi tape is your best friend. This lightweight paper tape comes in endless colors and patterns, perfect for adding flair to your prints.
How to make it:
Choose a few rolls of washi tape that complement your art. Apply the tape directly on the wall around your print, creating a border that mimics a frame. You can go for clean, straight lines or playful geometric designs.
Style tip:
This idea works beautifully in creative workspaces, kids’ rooms, or dorms. It’s easy to change or remove, making it perfect for renters or seasonal updates.
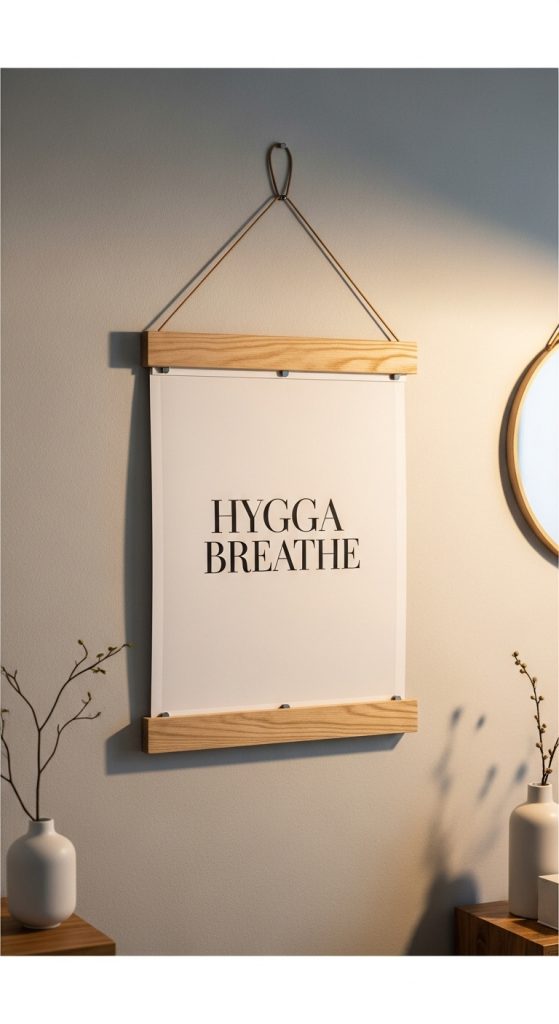
5. Poster Hanger Frame with Wooden Rails
Poster hanger frames are simple, stylish, and highlight your art beautifully. They consist of two wooden strips on the top and bottom of the print, held together by magnets or string.
How to make it:
Cut two equal lengths of wood slightly wider than your print. Attach magnetic strips or clips to hold the paper between the slats. Tie a piece of leather cord, twine, or string to the top for hanging.
Style tip:
Use natural wood for a Scandinavian aesthetic or paint the rails black for a bold, modern look. This frame design is perfect for travel posters, art prints, or motivational quotes.
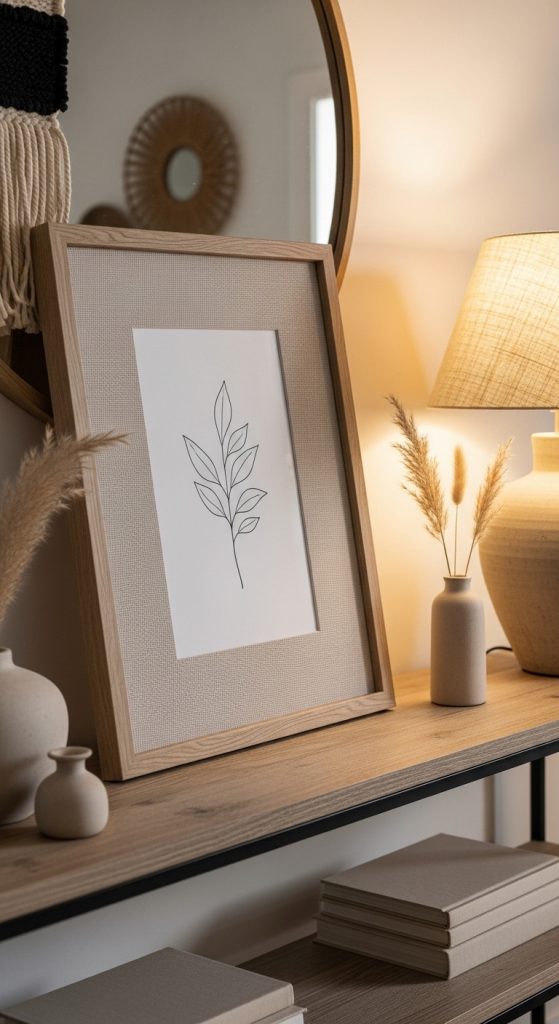
6. Fabric Mat Frame
A fabric mat adds a luxurious, textured touch to your framed art. It’s an easy way to elevate simple prints and give them a gallery-style presentation.
How to make it:
Cut a cardboard mat slightly larger than your print. Wrap it in linen, burlap, or velvet fabric, securing it with glue at the back. Mount your print in the center, then place the whole piece in a basic frame or shadow box.
Style tip:
Choose a fabric color that enhances your print’s tones. Neutral fabrics like beige, cream, or soft gray add sophistication, while bold fabrics create striking contrast.
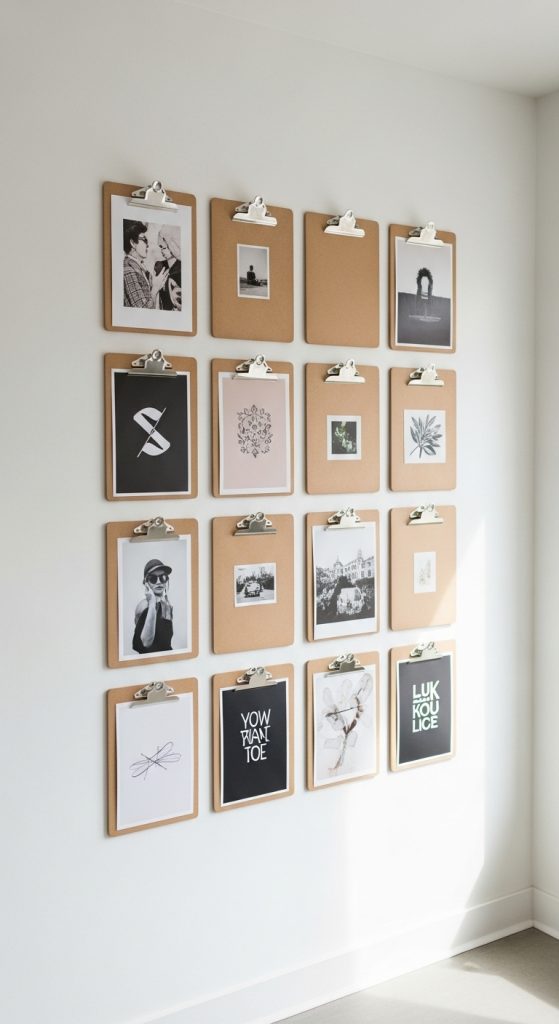
7. Hanging Clipboard Frame
Clipboard-style frames are modern, minimal, and incredibly easy to swap out whenever you want to refresh your wall art.
How to make it:
Find a wooden or acrylic clipboard, or make one by attaching a metal clip to a piece of plywood. Paint or stain the board to suit your decor. Clip your print securely and hang it on the wall with a nail or hook.
Style tip:
Create a rotating gallery by hanging several clipboards in a grid. You can easily switch out seasonal prints, photos, or inspirational quotes.
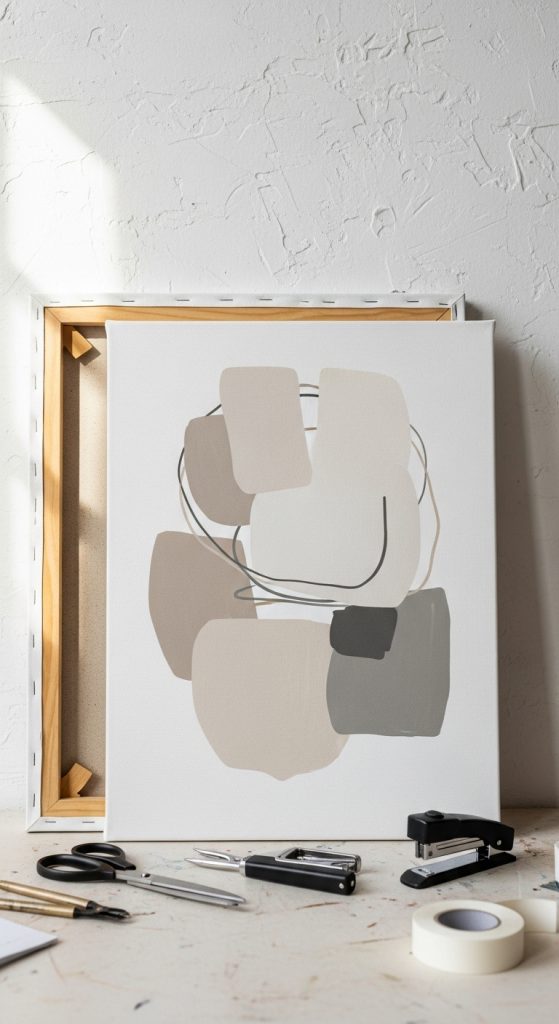
8. Canvas Stretch Frame
Turn your art prints into canvas-style wall decor by stretching them over wooden frames. This method gives the print depth and presence, similar to a painted canvas.
How to make it:
Build or buy a simple wooden frame (like those used for canvas paintings). Place your print face-down, then carefully wrap it around the frame edges. Use a staple gun to secure the back, pulling the print tight to avoid wrinkles.
Style tip:
This method is perfect for large wall art or statement pieces. You can leave the edges clean or add a thin outer frame for a gallery finish.
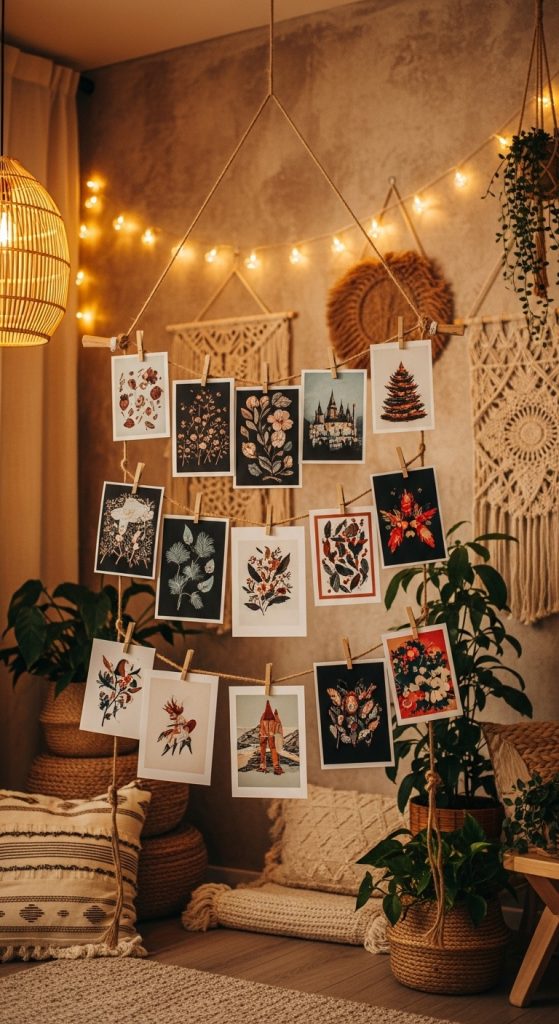
9. Rope and Peg Frame
For a casual, creative display, a rope and peg frame adds a playful touch. It’s ideal for displaying multiple prints, postcards, or photos in one setup.
How to make it:
Stretch a piece of twine or jute rope across a wooden dowel or between two hooks. Use mini clothespins or clips to hang your prints along the rope. You can hang the rope vertically or horizontally, depending on your wall space.
Style tip:
Add fairy lights to the rope for a cozy evening glow. It’s great for art studios, bedrooms, or reading corners.
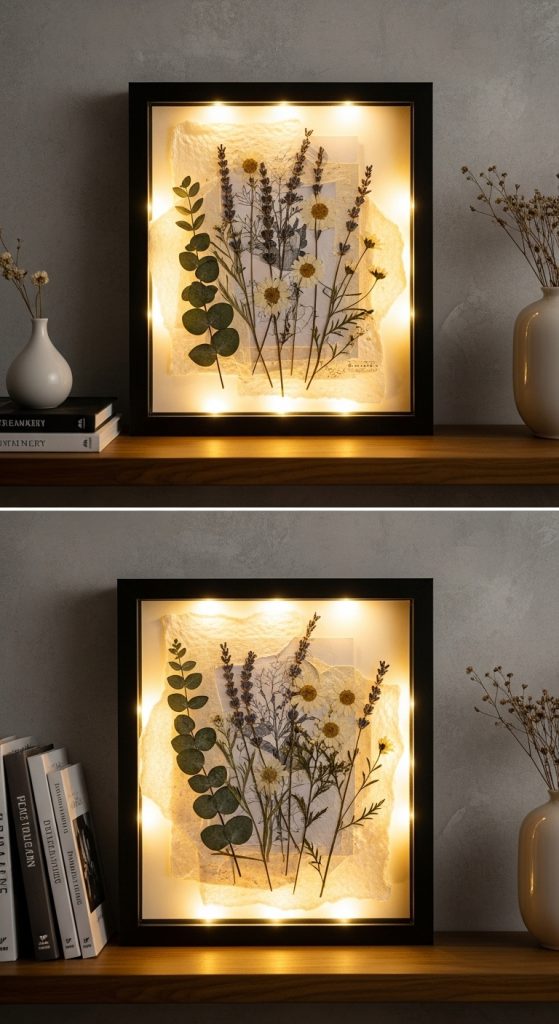
10. Shadow Box Frame with Layered Depth
A shadow box allows you to play with depth, texture, and dimension—turning your art into a striking display piece.
How to make it:
Use a deep frame box and layer your print with other decorative elements. You can include dried flowers, fabric, or textured paper behind or around the print. Secure everything neatly inside the box with glue or mounting tape.
Style tip:
This approach is perfect for 3D art, pressed botanical prints, or mixed-media pieces. It creates a sense of storytelling and texture that feels artistic and sophisticated.
Tips for DIY Framing Success
1. Measure carefully.
Always double-check your print size and frame dimensions before cutting materials. Precise measurements ensure a clean, professional look.
2. Choose the right adhesive.
Use acid-free materials when framing valuable or delicate prints. Regular glue can damage or discolor paper over time.
3. Add personal touches.
Don’t hesitate to paint, stain, or distress your frames to match your interior design style. Custom colors and textures make your display truly unique.
4. Mix and match styles.
Combining different frame types on one wall—like wood, glass, and metal—adds variety and character. It keeps your decor from feeling too uniform.
5. Lighting matters.
Position your framed art where it will get the best light. Natural light enhances textures and colors, while soft artificial lighting adds warmth.
How to Style Your DIY Art Frames
Once you’ve created your frames, how you display them can make just as much of an impact. Here are a few creative styling ideas:
Gallery Wall:
Combine different frame sizes and styles for an eclectic, personalized arrangement. Use consistent spacing to keep it cohesive.
Ledge Display:
Line up framed prints on floating shelves or picture ledges. This allows for easy rearrangement and layering.
Statement Wall:
Use a large frame or group of oversized prints to create a striking focal point in your living room or bedroom.
Corner Display:
Add framed art to unexpected corners or nooks. This works beautifully in small spaces or cozy reading areas.
Mix with Decor:
Incorporate framed prints into vignettes with plants, candles, and books. This layered approach creates depth and interest.
Why DIY Frames Are Worth the Effort
DIY framing is more than just a cost-saving project—it’s a creative process that lets you infuse your personality into your space. Store-bought frames often feel generic, but handmade ones tell a story. You choose the textures, colors, and finishes that reflect your taste and style.
Whether you’re displaying family photos, art prints from your favorite artist, or your own creations, a DIY frame elevates the piece into something special. The satisfaction of crafting something with your hands also adds emotional value—your decor becomes more meaningful and personal.
Final Thoughts
Framing your art is about more than just presentation—it’s about expression. Each of these ten DIY art print frame ideas offers a way to transform simple prints into statement pieces that enhance your home’s atmosphere. From rustic reclaimed wood to modern floating frames, the possibilities are endless.
Start small with an easy project like washi tape or clipboard frames, then experiment with more advanced styles like shadow boxes or canvas stretching. The key is to have fun, stay creative, and make something that feels authentically yours.
Your walls deserve to tell your story—and what better way to do that than through art you love, framed by your own hands.


