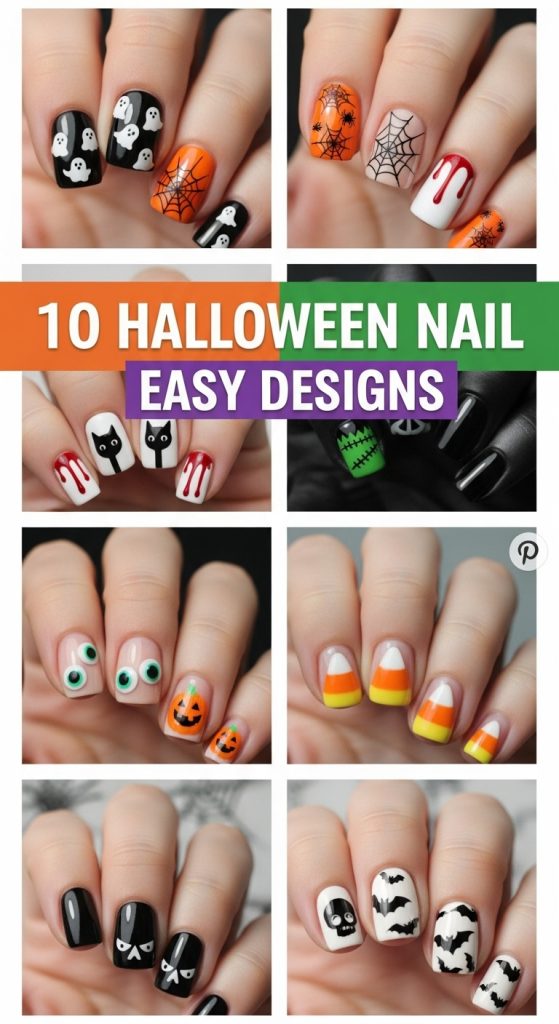
10 Halloween Nail Easy Designs
When Halloween arrives, it is not just about costumes, makeup, or decorations. Your nails can also become a small but stunning detail that completes your spooky look. The best part is, you do not need to be a professional nail artist to create impressive Halloween designs. With some polish, creativity, and a little patience, you can design Halloween nails that are simple, fun, and full of character.
This blog post will walk you through ten easy Halloween nail designs that anyone can do at home. These designs combine classic Halloween symbols, trendy styles, and beginner-friendly techniques. Whether you prefer something subtle or bold, there is a Halloween nail idea here for you.
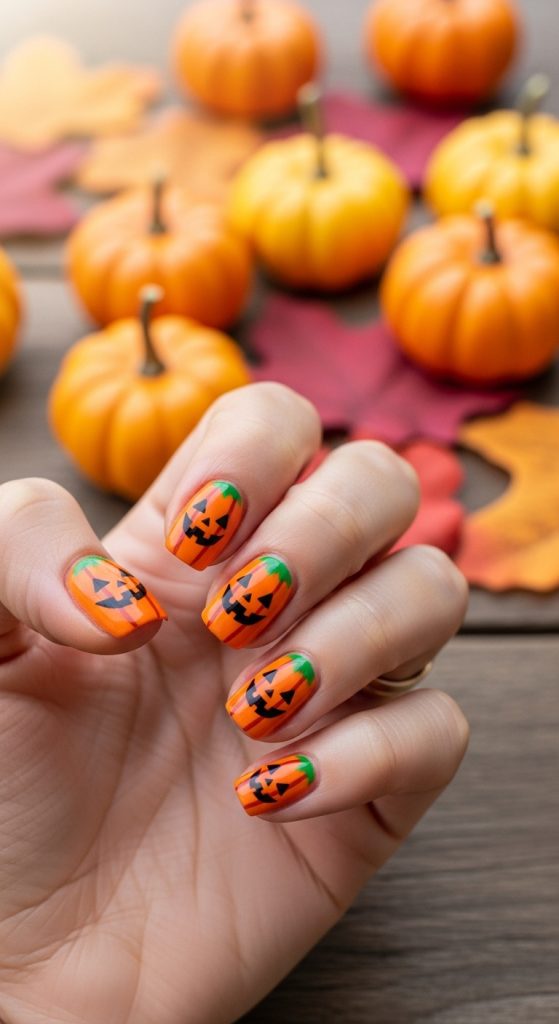
1. Classic Pumpkin Nails
Pumpkin nails are one of the most popular and easiest Halloween nail designs. All you need is an orange polish, a bit of green or brown for the stem, and a thin nail brush for the details.
How to create it:
- Paint your nails with a base coat to protect them.
- Apply two coats of bright orange nail polish.
- Once dry, use a thin brush or toothpick to draw small green stems or vines at the base of each nail.
- Add black triangles and a smiling pumpkin face if you want a jack-o-lantern style.
- Seal with a top coat for shine and longevity.
This design is fun, festive, and gives your nails a cheerful Halloween glow.
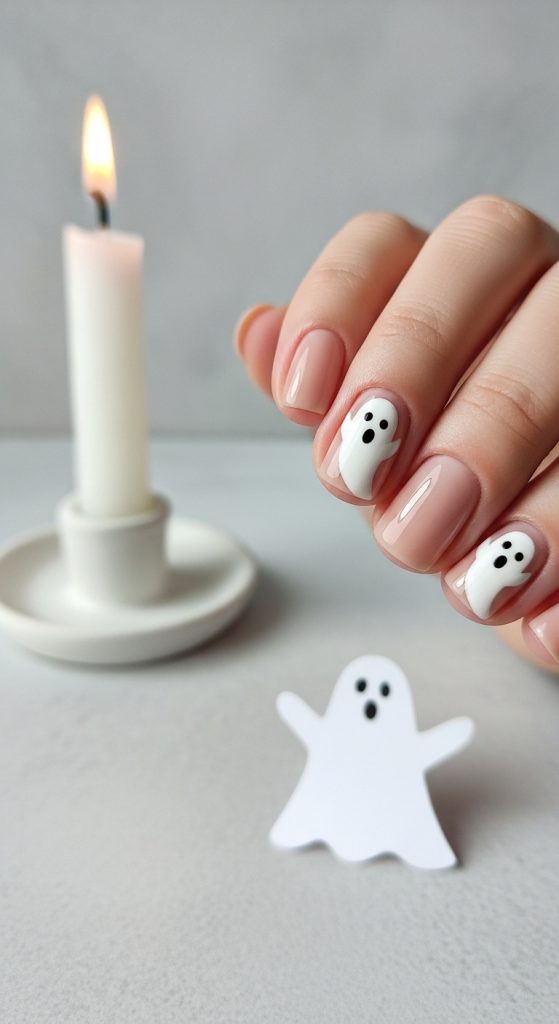
2. Ghostly White Nails
Ghost nails are simple but eye-catching. They are perfect for anyone who loves a minimalist yet spooky design.
How to create it:
- Apply a nude or clear base polish.
- Paint the tip of your nail in a rounded shape using white polish to resemble the ghost body.
- Once the white dries, use a black dotting tool or toothpick to add two eyes and a small open mouth.
- Finish with a glossy top coat.
This look pairs beautifully with any Halloween outfit and takes less than 30 minutes to complete.
3. Blood Drip Nails
If you are looking for a scarier and bolder option, blood drip nails are a Halloween favorite. They look dramatic but are surprisingly easy to do.
How to create it:
- Start with a nude or light pink polish as the base.
- Use a red polish and a fine brush or dotting tool to draw small red dots near the top of the nail.
- Drag the dots downward to form dripping streaks, mimicking blood drops.
- Add a glossy top coat to make the “blood” look fresh.
This design pairs perfectly with vampire or horror-themed costumes.
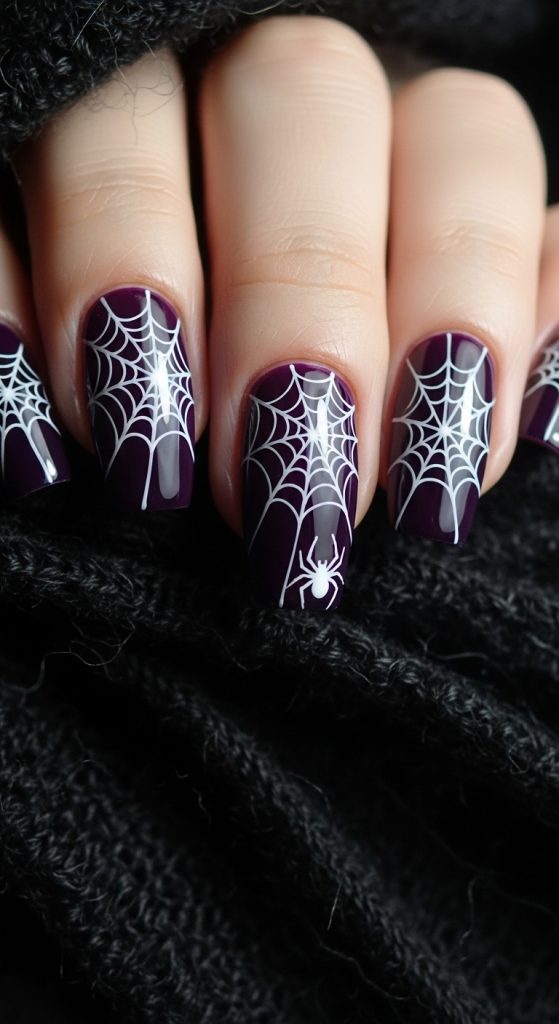
4. Spider Web Nails
Spider webs add an elegant yet creepy touch to your Halloween look. They are also simple enough for beginners.
How to create it:
- Paint your nails with a black or dark purple polish.
- Once dry, use a thin white nail art brush or pen to draw intersecting lines that form a web pattern.
- Start from one corner of the nail and connect the lines with small curved strokes.
- Finish with a top coat to protect your art.
This design works great on all nail lengths, especially almond or stiletto shapes.
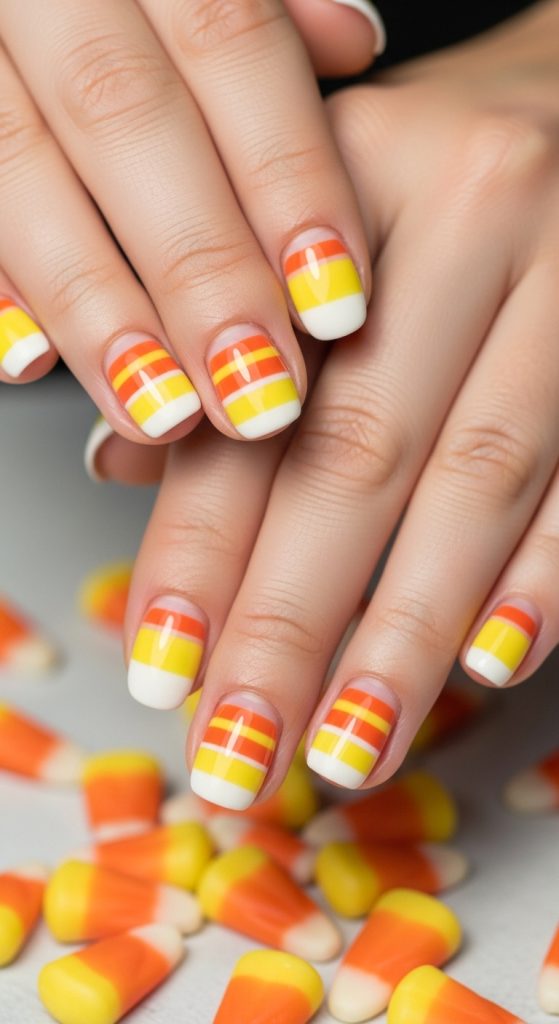
5. Candy Corn Nails
Candy corn nails are playful and colorful, perfect for anyone who wants something festive without being too spooky.
How to create it:
- Apply a base coat.
- Paint the bottom third of your nail orange, the middle section yellow, and the top white.
- Use thin tape or a steady hand to separate each section cleanly.
- Seal with a shiny top coat.
These nails look adorable and instantly recognizable, making them a cute choice for Halloween parties.
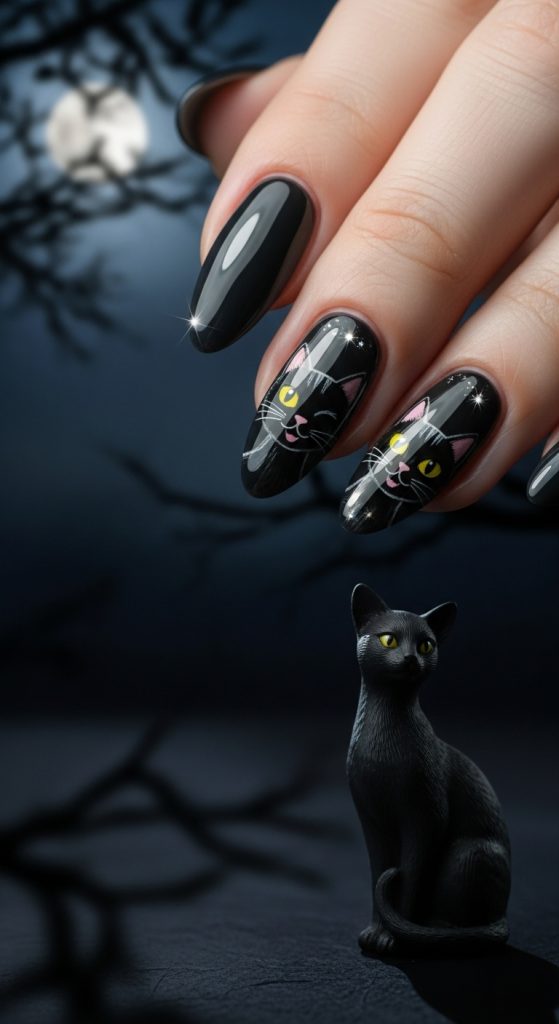
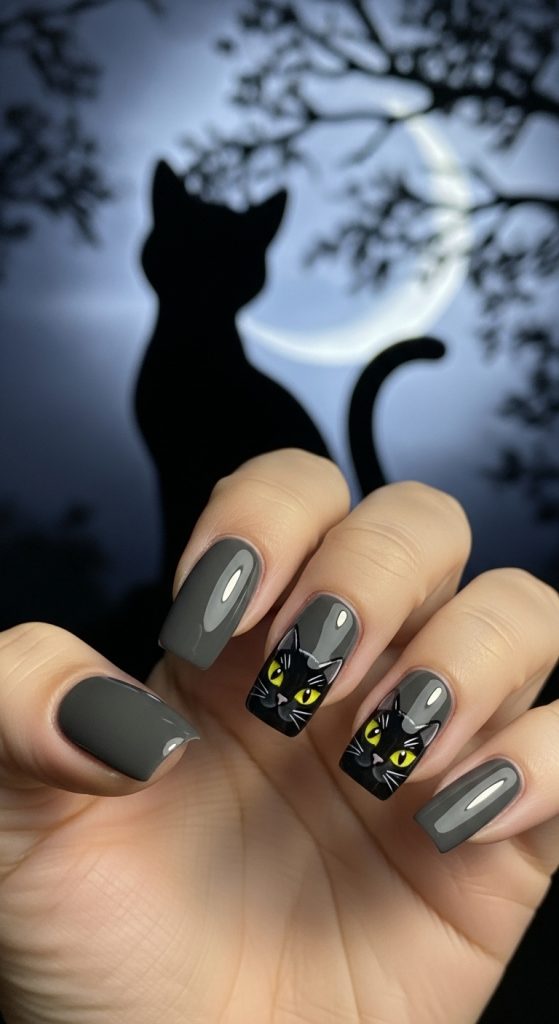
6. Black Cat Nails
Black cat nails bring luck and mystery to your Halloween style. They are simple, sleek, and stylish.
How to create it:
- Paint your nails with a black or dark gray polish.
- On one or two accent nails, draw a small cat face near the tip using white and yellow polish.
- Add little triangular ears and dot eyes with a fine brush or toothpick.
- Finish with a clear top coat.
This design pairs well with dark or gothic outfits and adds a charming Halloween touch.
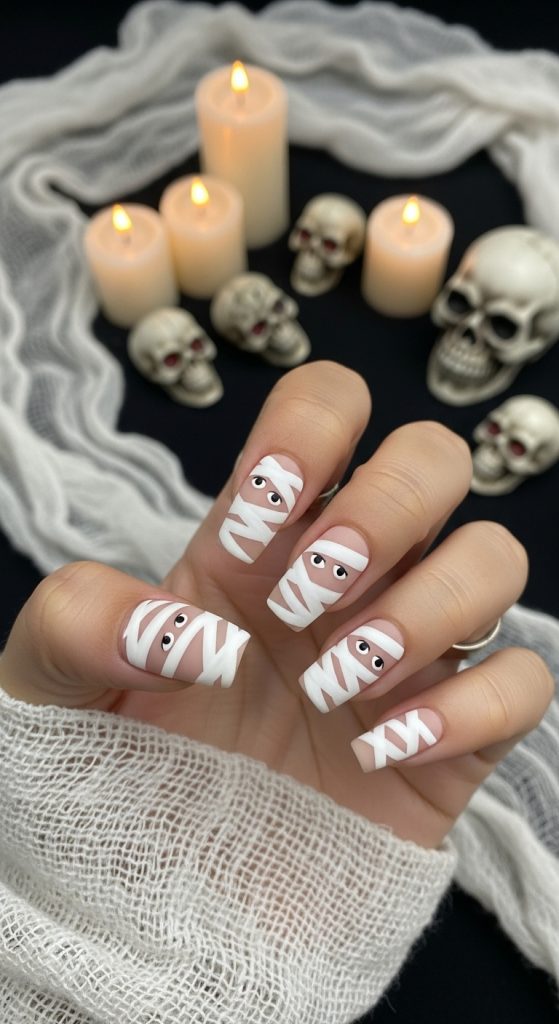
7. Mummy Nails
Mummy nails are quirky, fun, and surprisingly easy to create. They give off a playful spooky vibe that is perfect for casual Halloween looks.
How to create it:
- Paint your nails with a nude or off-white polish.
- Once dry, use a thin brush and white polish to draw diagonal stripes across each nail, mimicking bandages.
- Add two small black dots for eyes peeking through the wrappings.
- Apply a matte top coat for a more realistic look.
This design is cute, creative, and sure to get attention.
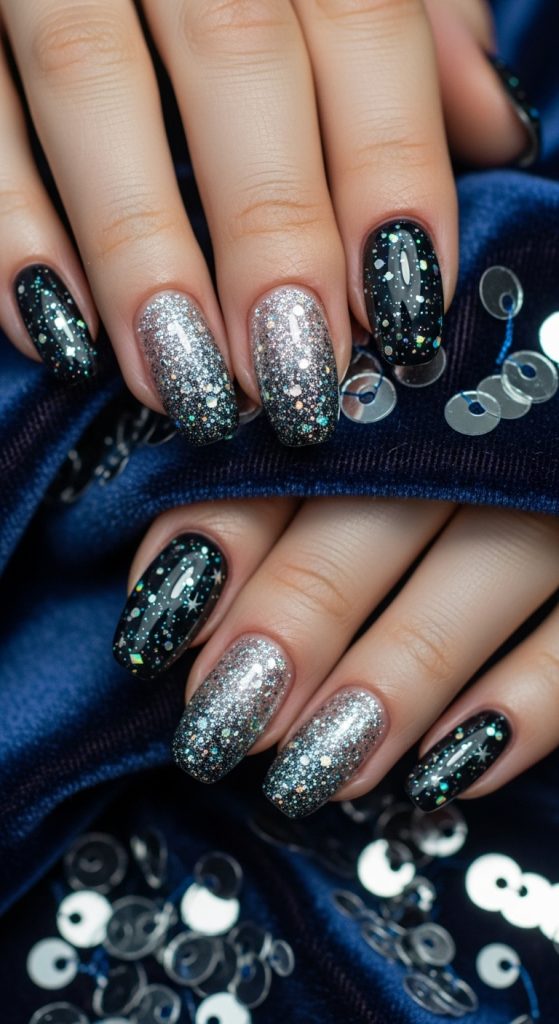
8. Glittery Midnight Nails
If you prefer a more glamorous and subtle Halloween vibe, glittery midnight nails are the way to go.
How to create it:
- Start with a black or navy-blue polish as the base.
- Add a coat of fine silver or holographic glitter polish on top.
- For extra sparkle, focus the glitter on the tips or base for an ombre effect.
- Finish with a glossy top coat.
This look is perfect if you want something elegant that still captures the Halloween night magic.
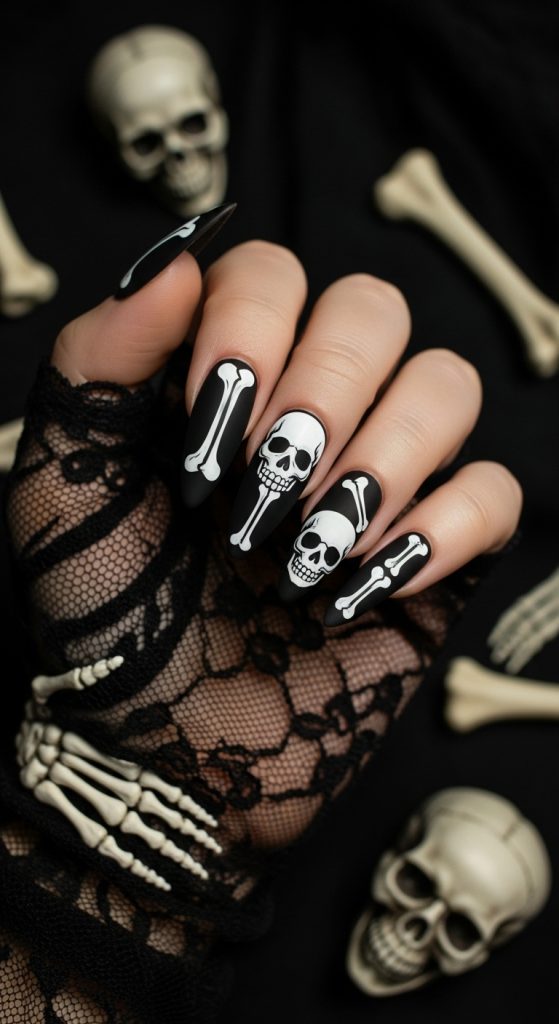
9. Skeleton Nails
Skeleton nails are classic and perfect for Halloween enthusiasts who love traditional spooky themes.
How to create it:
- Paint your nails black for a solid background.
- Use a thin white brush or nail pen to draw tiny bones or skulls.
- For a simpler version, focus on one accent nail and draw a small skull face while keeping the others plain black.
- Apply a top coat for durability.
This design has a timeless Halloween feel and looks stunning with any costume.
10. Bat Silhouette Nails
Bats symbolize the spooky charm of Halloween, and this nail design captures that perfectly.
How to create it:
- Apply a dark purple or midnight blue base coat.
- Once dry, use black polish to paint small bat silhouettes. You can use a nail stencil or freehand with a thin brush.
- Add a few white dots or stars in the background to create a night sky effect.
- Seal it with a glossy or matte top coat.
Bat nails are simple yet dramatic, making them one of the best go-to Halloween designs.

Tips for Perfect Halloween Nails
Creating easy Halloween nail designs does not have to be stressful. Here are some quick tips to help your designs turn out beautifully every time:
- Use a base coat – It prevents staining and helps your polish last longer.
- Keep tools handy – A thin nail brush, dotting tool, and tape are all you need for most designs.
- Be patient – Let each layer dry completely before adding details or another coat.
- Experiment with finishes – Try matte top coats for spooky effects or glossy ones for a polished look.
- Mix and match – Combine two or three designs across different nails for a fun, creative mix.
Final Thoughts
Halloween is all about expressing creativity, and your nails can be part of that expression. You do not have to spend hours or go to a salon to get beautiful Halloween nails. With these ten easy ideas, you can transform your nails into miniature works of art that perfectly capture the spooky spirit of the season.
From cute ghosts to elegant spider webs and bold blood drips, there is something here for every mood and style. The best part is that you can make each design your own by changing the colors, adding glitter, or mixing different themes.
So grab your favorite nail polish shades, set up your workspace, and start designing your perfect Halloween nails. Whether you are dressing up for a big party or just want to feel festive, these easy nail designs will help you celebrate Halloween in style.