10 Kandi Ideas Easy
Creating kandi bracelets and accessories is an enduring, vibrant tradition within music festival culture, rave fashion, and everyday creative crafting. Made primarily from plastic pony beads and elastic cord, kandi making is an accessible, budget-friendly, and expressive hobby suitable for all skill levels. Whether you are preparing for a festival season or looking for a fun DIY afternoon activity, these 10 easy kandi ideas provide practical inspiration and step-by-step methods to build your collection.
Why Kandi Crafting Is Popular and Useful
Kandi crafting offers a unique blend of personal self-expression, community connection, and hands-on creativity. The tradition of trading kandi—often guided by the ethos of Peace, Love, Unity, and Respect (PLUR)—makes these handmade accessories meaningful keepsakes from social events. Beyond their cultural significance, kandi projects are remarkably versatile: they require minimal physical tools, involve low material costs, and allow for infinite combinations of colors, patterns, and personalized words. Beginners appreciate kandi making because foundational techniques are simple to master, while the results are immediately wearable and shareable.
Materials and Preparation
Gathering the right supplies ensures your kandi creations are durable, comfortable, and easy to assemble:
- Pony Beads: Standard 6mm x 9mm plastic pony beads in assorted solid, neon, glitter, or translucent colors.
- Elastic Cord: 1mm fabric-covered elastic stretch cord (holds knots far more securely than slick clear plastic monofilament).
- Alphabet Beads: Flat disc or cube letter beads for personalizing names, song lyrics, or mantras.
- Scissors: Sharp craft scissors for clean cord cuts.
- Clear Glue or Nail Polish: A tiny drop applied to finished knots prevents unraveling over time.
- Optional Tools: A blunt yarn needle for multi-row weaving, and binder clips to keep beads from sliding off working cord ends.
Main Ideas Section
Idea 1: Classic Single-Strand Phrase Bracelet
How to Create
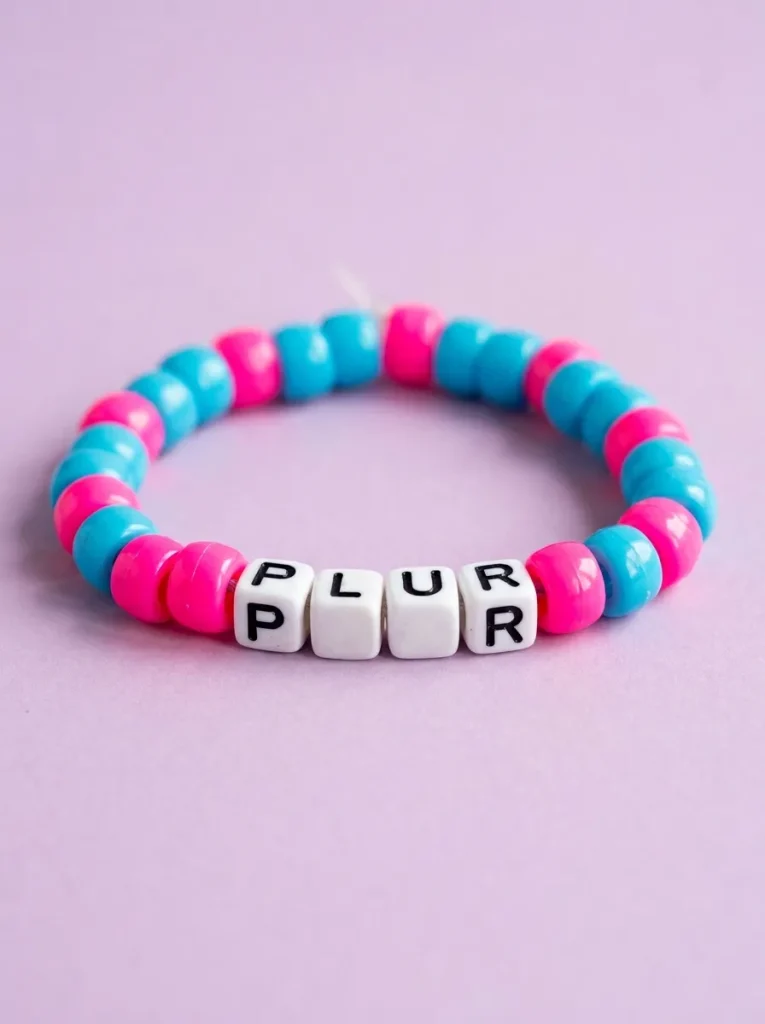
The foundational project for every kandi maker is the classic single-strand phrase bracelet. This timeless design centers around letter beads spelling out favorite song titles, personal mantras, or classic festival phrases. Flanking the lettering with a symmetrical pattern of vibrant pony beads creates a clean, balanced look that is ideal for wearing in stacks or trading with friends.
Measure your wrist with a piece of elastic cord, leaving three to four inches of extra string on both ends for knotting. Thread your chosen alphabet beads onto the middle of the cord, then add alternating or color-coordinated pony beads on both sides until reaching your desired wrist size (typically 25 to 30 beads total for an adult). Secure the ends with a tight triple surgeon’s knot, dab a drop of clear glue or nail polish onto the knot, and trim the excess cord once fully dry.
Idea 2: Alternating Color Block Single
Step-by-Step Guide
The alternating color block single replaces random bead patterns with structured, high-contrast sections of color. By grouping three to four beads of one vibrant shade together before switching to a contrasting shade, this design creates a punchy, graphic band that stands out visually when stacked alongside other bracelets.
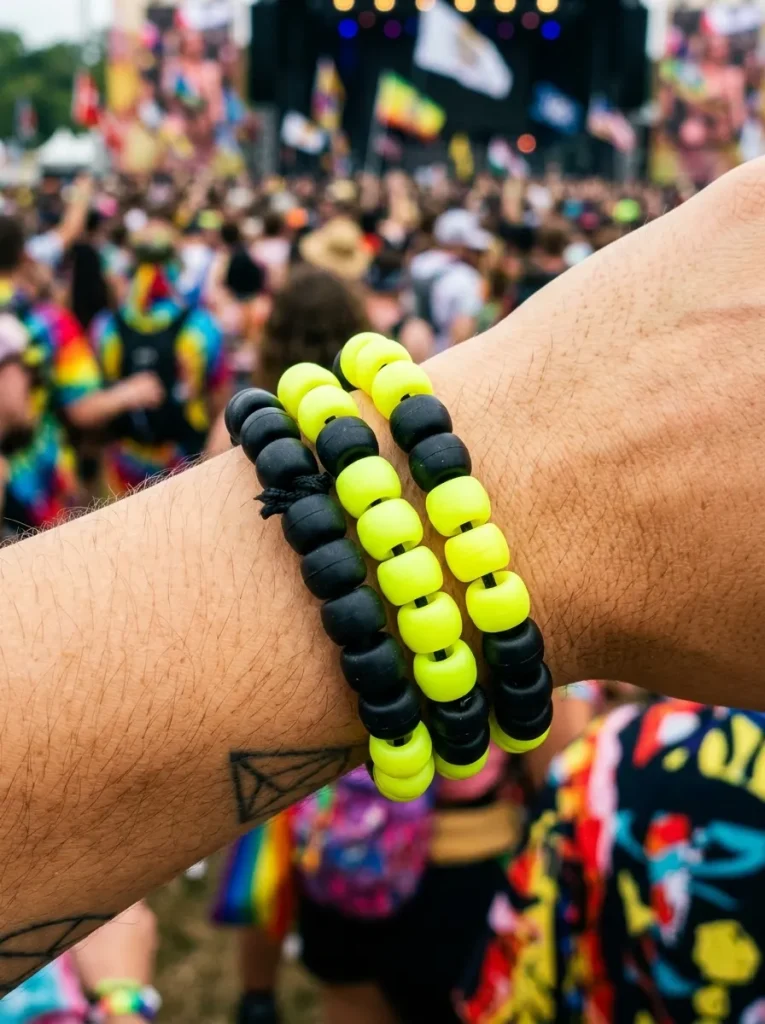
Select three complementary or contrasting pony bead colors—such as neon pink, electric cyan, and matte black. Thread three pink beads onto your elastic cord, followed by one black spacer bead, three cyan beads, and another black spacer bead. Repeat this rhythmic block pattern around the entire length of the strand. Tie off the elastic securely using a double or triple surgeon’s knot, ensuring the tension remains snug without puckering the cord.
Idea 3: Daisy Chain Bracelet
Execution Process
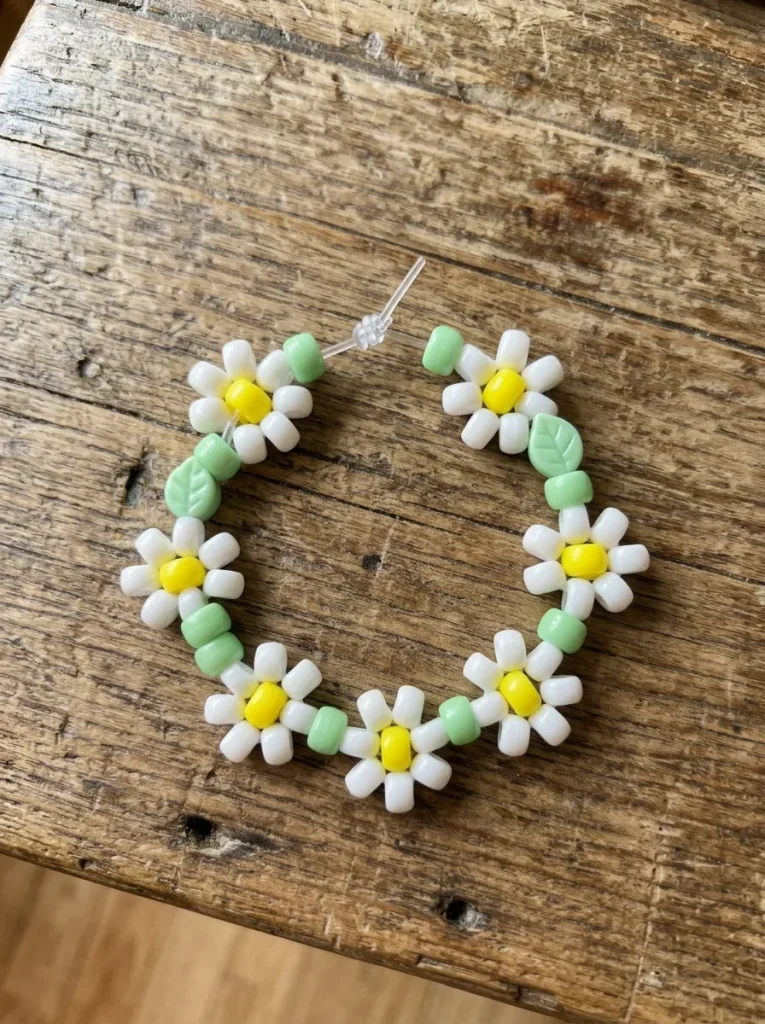
The daisy chain bracelet introduces a simple floral weaving technique that transforms standard single-strand elastic into a delicate string of beaded flowers. Using six petal-colored beads surrounding a central yellow or gold core bead, this project adds charming botanical detail to your kandi collection without requiring complex tools.
Thread four petal-colored beads (e.g., white) and one center bead (e.g., yellow) onto your cord. Take the working end of the elastic and loop it back through the very first petal bead you added, pulling it tight to form half of a floral circle. Add two more white petal beads to the cord, then thread the working end back through the fourth petal bead to close the flower structure. Add two stem-colored spacer beads (e.g., green) and repeat the process to build continuous daisy nodes down the bracelet.
Idea 4: Simple Kandi Ring
Setup Method
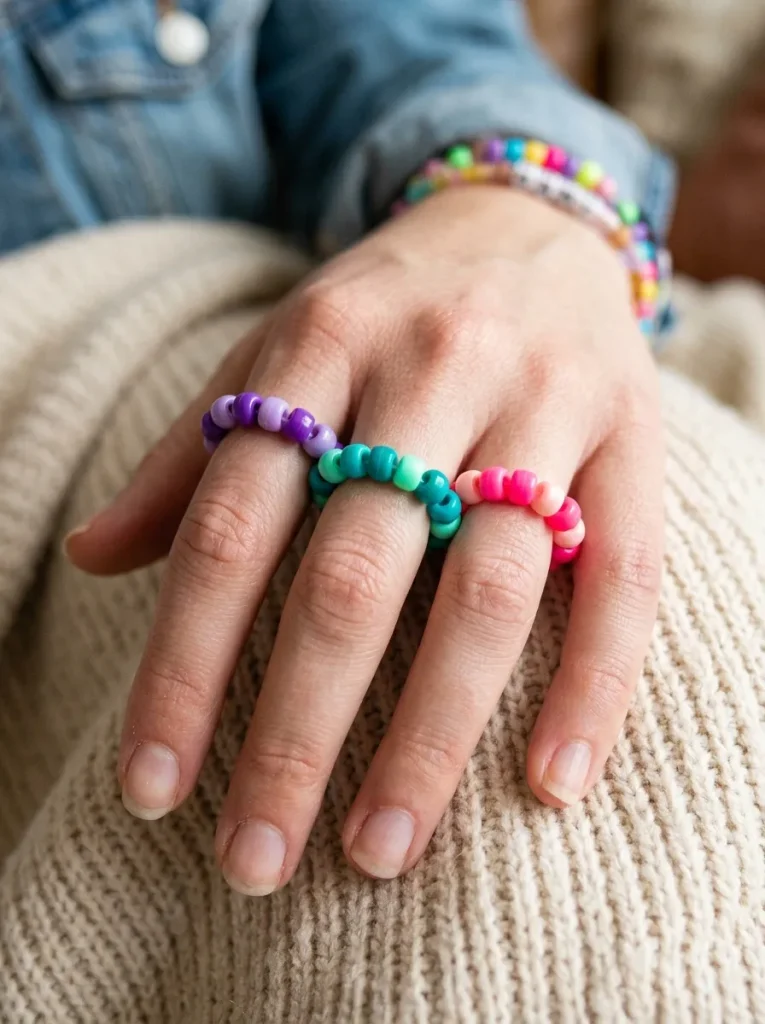
Miniature kandi rings are ultra-quick projects that utilize leftover scrap beads and take under two minutes to assemble. Designed to match your primary bracelet stacks, these tiny accessories sit comfortably on fingers and add a playful detail to hand styling.
Cut a six-inch piece of thin elastic cord. Thread 8 to 12 pony beads (or smaller 4mm seed beads for a lower-profile fit) onto the elastic, testing the loop length directly against your finger joint. Once the beads encircle your finger snugly, tie a firm double knot, trim the string tails close to the knot, and tuck the knot inside the cavity of an adjacent bead for a clean finish.
Idea 5: Multi-Strand Ladder Cuff
How to Make
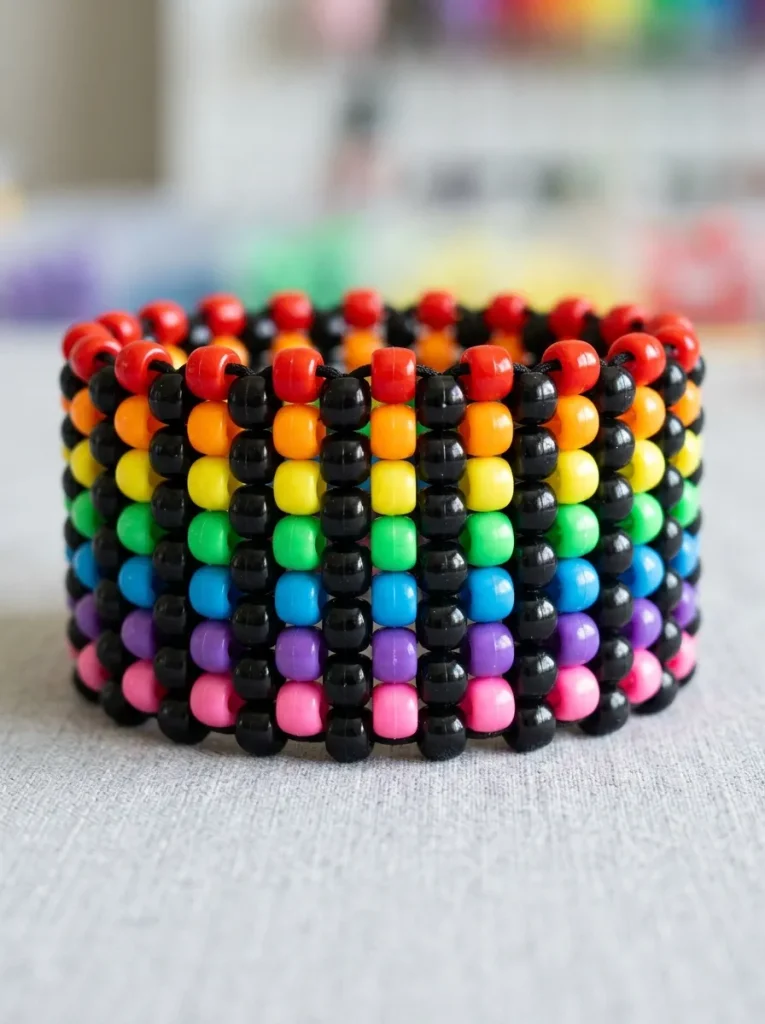
The multi-strand ladder cuff provides the wide, substantial look of a traditional rave cuff without requiring complex offset weaving. By utilizing two parallel elastic strands linked together by vertical “ladder” beads, this structured wristband stays flat and displays clean geometric stripes.
Cut two equal lengths of elastic cord (roughly 18 inches each). Thread a single vertical bead (the ladder rung) onto both cords simultaneously. Separate the two cords, threading horizontal spacer beads onto the top and bottom strands independently before passing both cords together through the next vertical ladder bead. Continue building horizontal sections linked by vertical beads until the cuff fits around your wrist, then tie top and bottom cords to their starting ends.
Idea 6: Kandi Necklace with Central Charm
Step-by-Step Guide
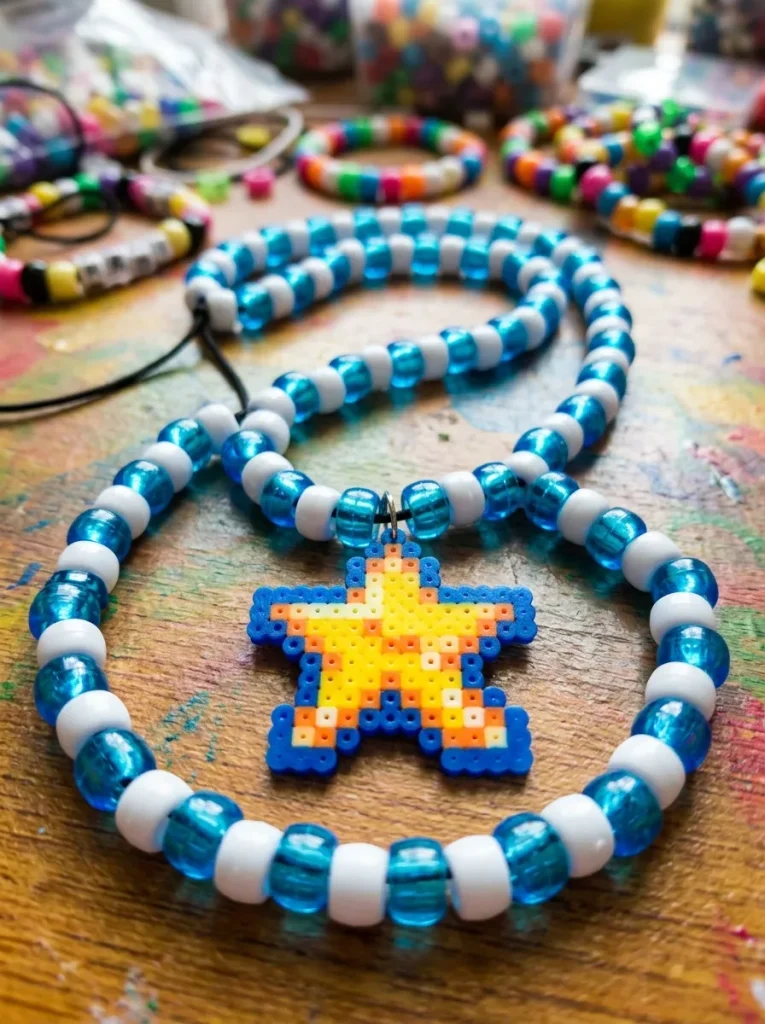
Expanding kandi making into neckwear, a long single-strand necklace anchored by a central pendant or perler bead creation provides an eye-catching statement piece. Using larger translucent, metallic, or glow-in-the-dark pony beads keeps the long cord lightweight and comfortable during extended wear.
Construct a pixel-art design (such as a star or mushroom) out of meltable perler beads, or select a small plastic toy equipped with a jump ring. Cut a 30-inch piece of elastic cord, centering the pendant on the strand. String colorful pony beads evenly up both sides of the cord until reaching a comfortable necklace length that easily slips over your head. Finish by tying a secure surgeon’s knot at the back of the neck.
Idea 7: Peyote Stitch Flat Cuff (Single Stitch)
Execution Process
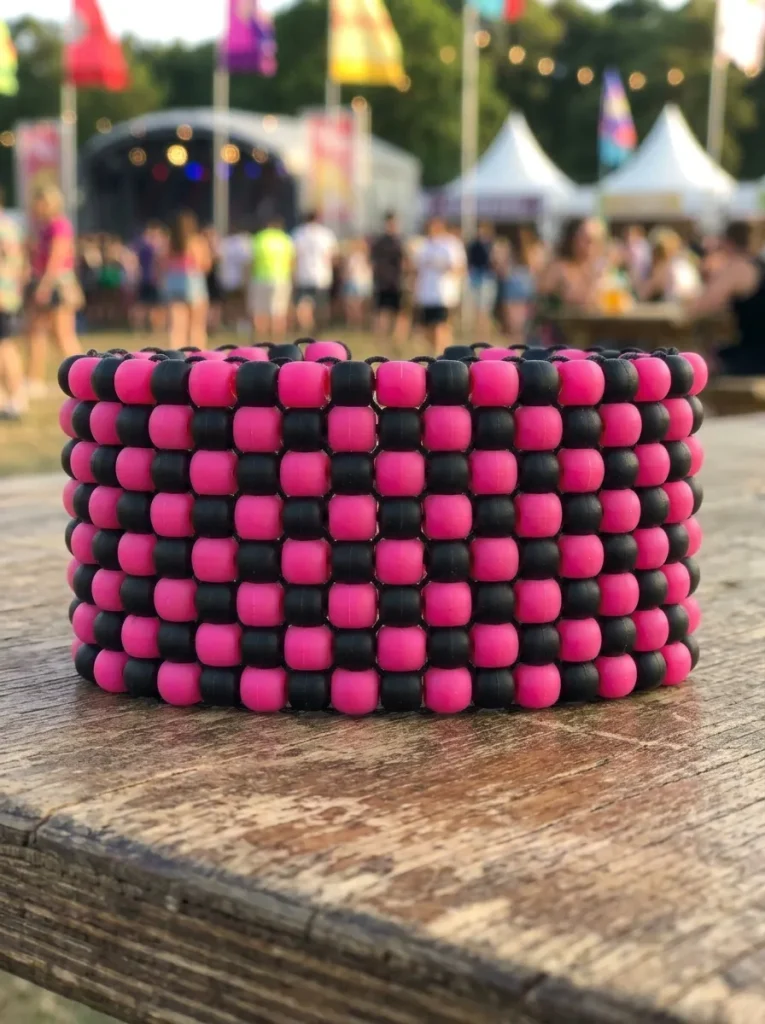
The single peyote stitch cuff is the most iconic classic rave cuff design. Utilizing an interlocking “over-under” offset weave, pony beads align like bricks in a wall to form a thick, stretchy, and highly durable wristband capable of displaying custom geometric patterns.
Begin by stringing an even number of base beads (e.g., 28 beads) onto a long elastic cord and knotting it into a standard single circle. Take the long working end of the cord, thread on a new bead, skip one bead on the base row, and pass the needle through the following base bead. Continue this “add one, skip one, pass through” rhythm around the entire circle; as you complete each row, the new beads will lock securely into the gaps of the previous row.
Idea 8: Kandi Keychains & Backpack Clips
Setup Method
Kandi keychains transform leftover beads into functional bag accessories that withstand daily wear. By swapping elastic cord for non-stretch nylon cord or paracord, these durable tassels hold up well on key rings, backpacks, and belt loops.
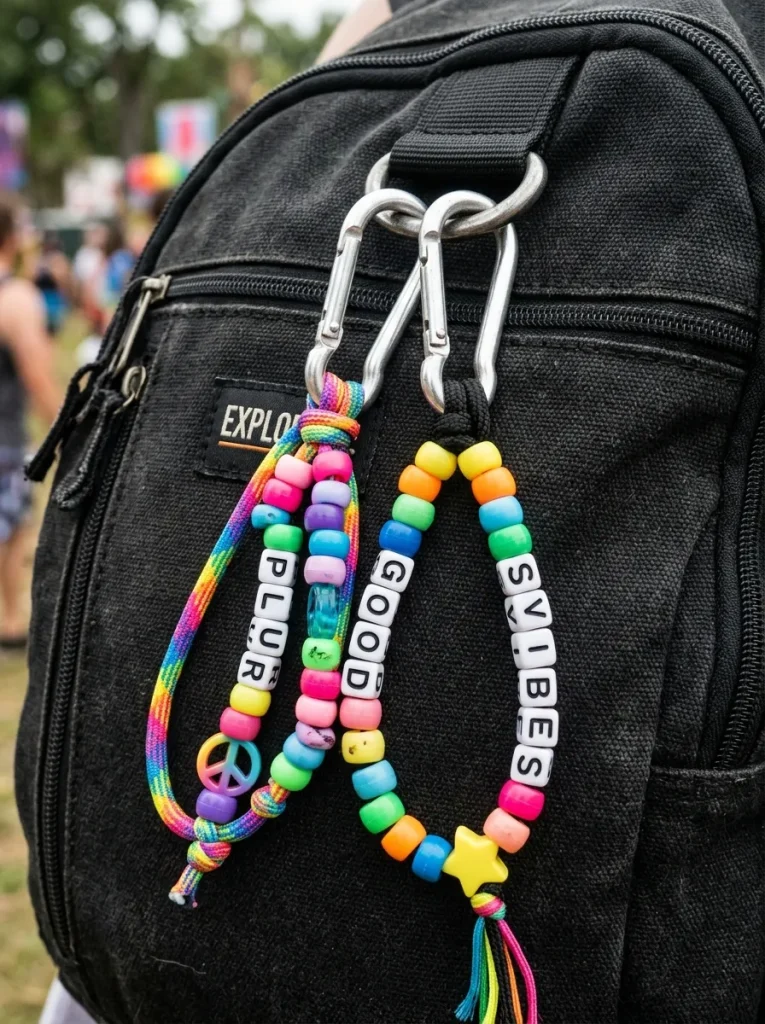
Attach a 12-inch length of non-stretchy nylon cord to a metal swivel snap hook using a lark’s head knot. Thread alphabet beads and decorative pony beads onto the two dangling cord ends, spelling out names or bag labels. Finish the bottom of each strand with a tight double knot, melting the nylon cord tips slightly with a lighter (under adult supervision) to prevent fraying.
Idea 9: Braid-In Kandi Hair Elastic
How to Make
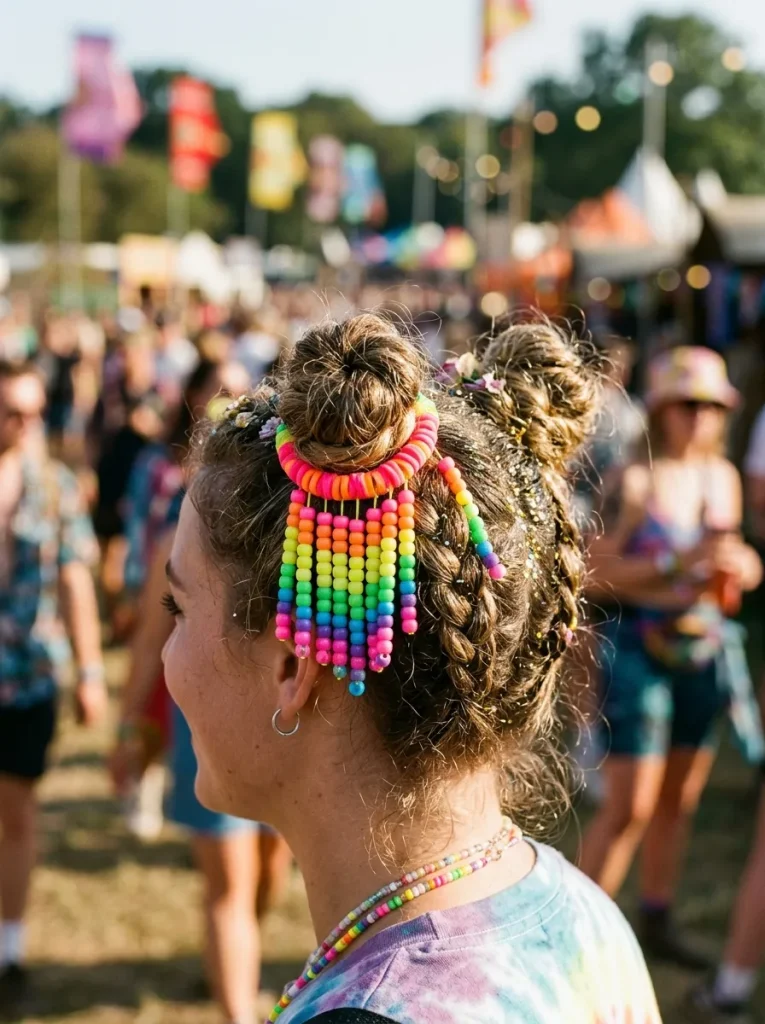
Weaving beaded accents directly into festival hairstyles like space buns or French braids adds vibrant texture to your hair. Braid-in kandi hair elastics feature short dangling beaded loops anchored securely to a standard fabric ponytail holder.
Take a durable fabric hair tie and cut three 6-inch pieces of elastic cord. Tie each cord tightly around the fabric band at equal intervals. Thread 6 to 10 colorful pony beads onto each cord tail, finishing the ends with heavy knots and drops of clear craft glue. Secure the hair tie around a bun or ponytail, weaving the dangling beaded strands directly into hair braids.
Idea 10: Star Stitch Kandi Cuff
Step-by-Step Guide
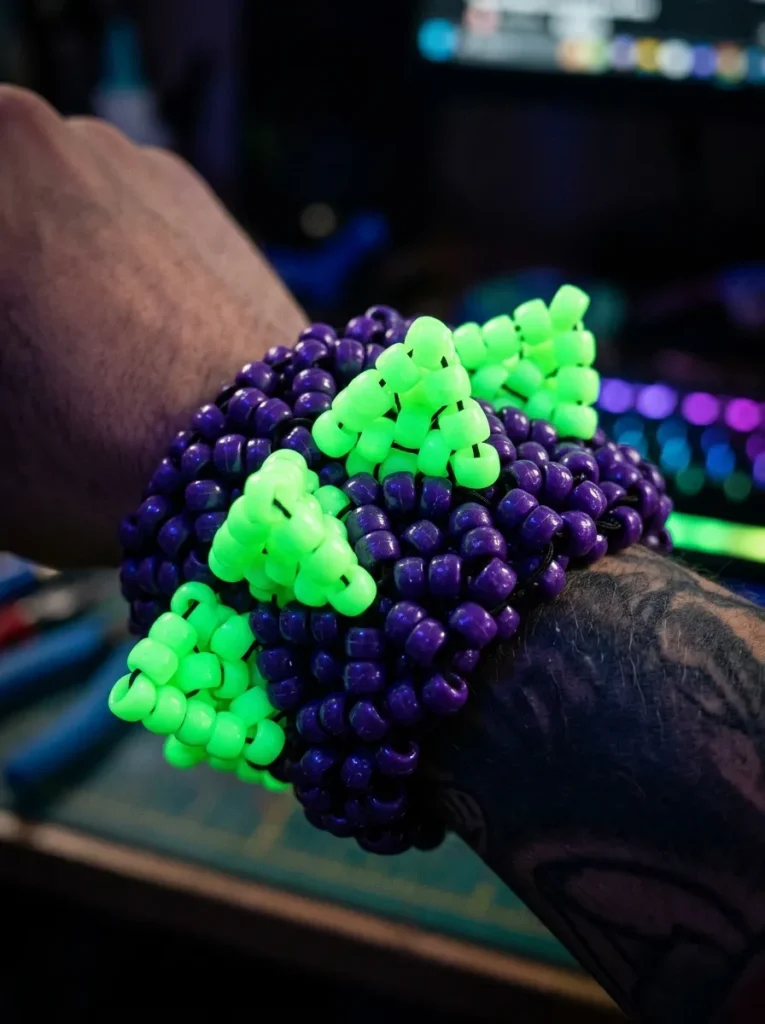
The star stitch cuff builds upon a basic peyote stitch base by adding dimensional 3D points that stick outward along the center band. Using high-contrast or glow-in-the-dark beads for the raised points creates a dynamic, tactile accessory that catches light from all angles.
Construct a standard 3-row to 5-row flat peyote stitch cuff base using solid dark beads. Thread your working needle through a raised bead on the outer row, string three bright “star point” beads onto the cord, and pass the needle through the next raised bead on the base row. Repeat this 3-bead point addition around the entire circumference to form a ring of 3D triangular points.
Common Beginner Mistakes and How to Avoid Them
- Using Clear Monofilament Fishing Line: Clear plastic fishing line lacks elasticity and unties easily. Always use 1mm fabric-covered elastic cord for comfortable stretch and permanent knot retention.
- Cutting Strings Too Short: Always leave at least 3 to 4 inches of extra cord on both ends of your project to allow room for tying strong double or triple surgeon’s knots cleanly.
- Over-Tightening While Threading: Pulling elastic too tight during assembly causes the finished bracelet to buckle or curl awkwardly. Maintain firm yet relaxed cord tension throughout.
Practical Tips for Better Results
- Pre-Stretch Your Cord: Gently stretch your elastic cord before stringing beads. This prevents the finished bracelet from loosening after its first few wears.
- Organize by Color: Use a divided tackle box or ice cube tray to sort pony beads by color and finish to speed up assembly time.
- Secure Knots Properly: Master the surgeon’s knot (an extra pass through the loop before tightening) to ensure your knots remain locked permanently under tension.
Budget and Time Planning
Kandi crafting is one of the most budget-friendly crafts available. A starter kit containing 1,000 pony beads, alphabet beads, and a roll of elastic cord typically costs between $10 and $15. Simple single-strand bracelets, rings, and keychains take under 5 minutes to complete, making them ideal for quick crafting sessions. Multi-row cuffs and peyote stitch projects require between 30 to 60 minutes of active assembly time.