Transforming inexpensive medical gauze, open-weave cheesecloth, and polyester cobweb fiber into continuous spooky garlands turns ordinary domestic spaces into atmospheric, decaying haunted estates. Traditional store-bought plastic Halloween banners often look flat, repetitive, and artificial, failing to evoke genuine gothic dread. In contrast, layering aged textiles, distressed shredded cloth, and wispy cobweb filaments creates organic, sweeping swags that catch low-level candlelight and sway with every air draft. This comprehensive guide outlines the foundational principles of distressing, dyeing, shredding, draping, and illuminating creepy gauze spiderweb garlands for both interior and exterior holiday displays. You will learn the exact textile-aging formulas, scissor-slashing mechanics, suspension anchor techniques, and integrated lighting setups needed to construct multi-layered seasonal swags. Understanding fiber tensile limits, gravity drop ratios, safe flame-free illumination, and insect prop distribution ensures your handmade garlands remain durable, safe, and visually captivating throughout the spooky season. Crafting your own DIY spiderweb garlands delivers exceptional visual impact for minimal cost, elevating fireplaces, staircases, front porches, and dining tables with theatrical, haunted sophistication.
Why This Idea Is Trending or Useful
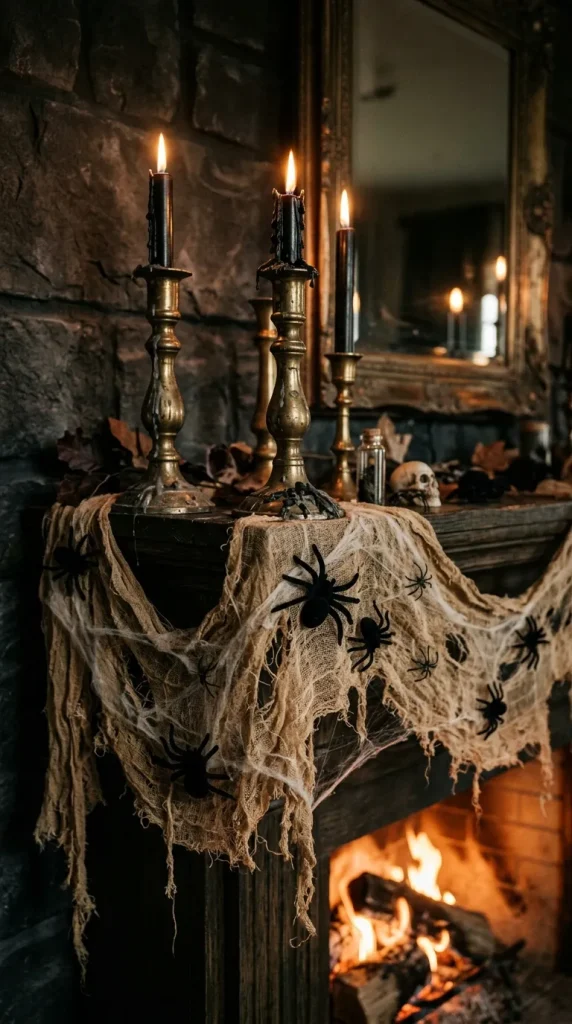
Creepy gauze spiderweb garlands have become a dominant focal point across modern DIY and seasonal home decor inspiration because they merge high-impact visual drama with accessible, budget-friendly materials. Medical cheesecloth and unbleached cotton gauze are inexpensive, lightweight, and easily manipulated with basic household supplies like tea, coffee, and fabric shears. Unlike rigid plastic party decor, fibrous gauze conforms fluidly to any architectural feature—from winding staircase balustrades and deep fireplace mantels to covered front porch beams and chandeliers. The loose, woven texture naturally snags faux spiderwebs and plastic arachnids without requiring heavy adhesives or permanent fasteners. Furthermore, aged gauze swags provide the perfect backdrop for multi-layered Halloween styling, pairing effortlessly with dried florals, skull props, antique brass candelabras, and fairy lighting. This design approach remains universally popular because it requires no specialized crafting machinery or advanced sewing skills—only strategic distressing, intentional shredding, and intuitive hanging. The resulting blend of eerie decay, tactile depth, low storage footprint, and customizable spooky styling makes gauze spiderweb garlands a must-have craft for Halloween enthusiasts.
Materials and Preparation
Crafting durable, realistically distressed gauze spiderweb garlands requires gathering loose-weave fabrics, aging colorants, faux web fibers, realistic arachnid props, and non-invasive mounting hardware before starting assembly. Essential crafting materials include grade 10 or grade 40 unbleached cotton cheesecloth (available in bulk bolts), black or gray open-weave creepy cloth, traditional synthetic stretch cobweb batting, black tea bags or instant coffee crystals for fabric aging, and an assortment of plastic or flocked spiders in varied sizes. For lighting and mounting, gather battery-operated micro-LED fairy lights (warm amber, eerie violet, or blood orange), removable damage-free clear wall hooks, floral wire, zip ties, and a spray bottle filled with diluted black acrylic wash. Required tools include heavy-duty fabric shears, an iron or clothing steamer, measuring tape, rubber gloves, and a large basin or bucket for fabric dye baths. Begin preparation by measuring your target hanging zones—such as mantels or banisters—multiplying the linear measurement by 1.5 to account for dramatic sagging swag loops. Clear a large outdoor or plastic-tarped work surface, wash unbleached cheesecloth in warm water to strip factory sizing, and prepare your tea or coffee dye baths to start the aging process.