Repurposing vintage teacups into DIY bird feeders is a charming way to add whimsical decor to your outdoor space while supporting local wildlife. These budget-friendly craft projects bring a touch of fairytale elegance to gardens, patios, and balconies. Whether you have a stack of mismatched thrift store chinaware or a cherished floral set, turning teacups and saucers into functional bird feeders is a quick and satisfying weekend DIY project. This guide breaks down 10 creative teacup bird feeder designs, complete with step-by-step assembly methods, weatherproofing advice, and seed recommendations to help you attract feathered friends to your yard.
Why This Idea Is Trending or Useful
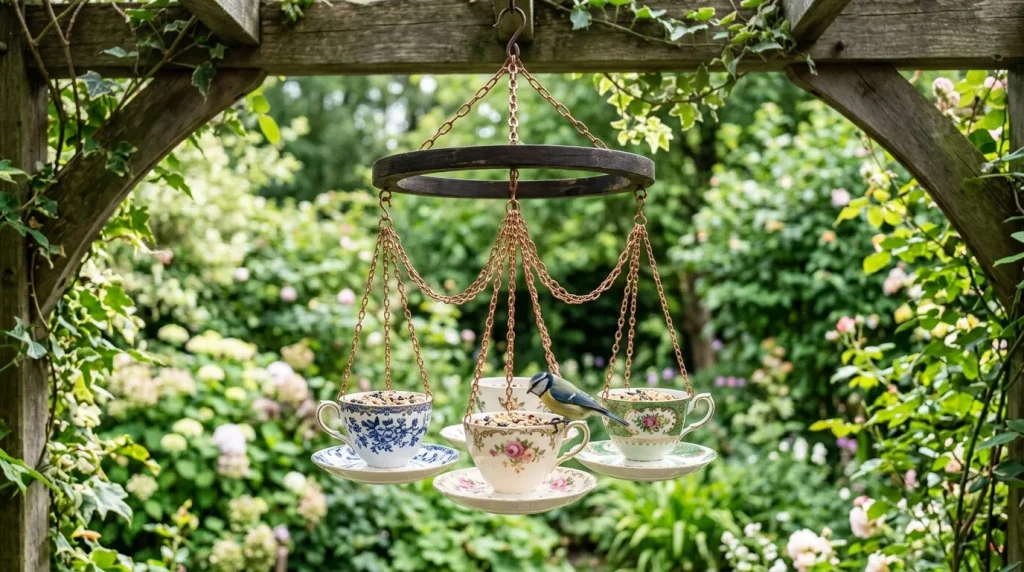
Upcycled garden decor has seen a major surge in popularity on crafting platforms like Pinterest and Instagram as homeowners embrace sustainable, zero-waste gardening. Teacup bird feeders offer the perfect blend of functionality and vintage aesthetic charm:
- Eco-Friendly Upcycling: Gives second life to chipped, mismatched, or forgotten vintage china found at thrift shops, estate sales, or flea markets.
- Budget-Friendly Crafting: Most teacup feeder projects cost under $10 to make and can be completed in under an hour.
- Compact & Versatile: Perfect for small outdoor spaces, urban balconies, or large garden landscapes where traditional bulky wooden feeders might look out of place.
- Bird-Friendly Utility: Provides a safe, elevated station for small backyard songbirds like finches, chickadees, nuthatches, and sparrows to feed.
Materials and Preparation
Before starting your teacup bird feeder builds, gather the essential crafting tools, structural hardware, and adhesives. Proper surface preparation and adhesive selection are key to ensuring your feeders withstand rain, wind, and summer sun.
Recommended Materials & Hardware
- Vintage Teacups & Saucers: Ceramic, porcelain, or glass chinaware sets.
- Waterproof Outdoor Adhesive: E6000 Craft Adhesive or Gorilla Clear Max Strength Construction Adhesive (avoid hot glue or regular Elmer’s glue, as moisture will dissolve the bond).
- Hanging Hardware: Heavy-duty twine, jute rope, brass chain links, S-hooks, or metal eyelet screws.
- Stakes & Mounted Frames: Copper pipes, wooden garden stakes, rebar, or metal plant hangers.
- Drilling Tools (Optional): Cordless drill with a 1/4-inch diamond-tipped glass/tile drill bit (for drainage holes).
- Protective Gear: Safety glasses, work gloves, and rubbing alcohol for cleaning ceramic surfaces before gluing.